How to Clean House Gem Coffee Mug Warmer

How to Use Housegem Coffee Cup Warmer
September 20, 2026
How to Use Kepwam Self Heating Coffee Mug T2?
September 20, 2026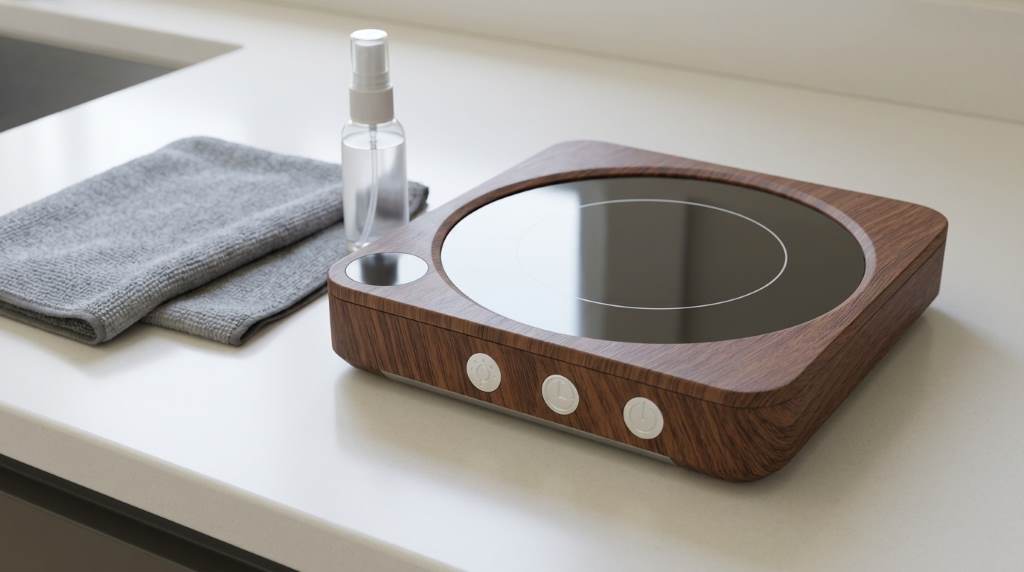
Clean a House Gem Coffee Mug Warmer with a soft damp cloth, mild dish soap, and careful drying. Unplug the warmer first, avoid soaking it, and keep moisture away from electrical openings and controls.
A clean warmer removes coffee residue before it hardens around the heating surface. For context, coffee remains one of the most widely consumed beverages, with many adults drinking it daily. The House Gem Coffee Mug Warmer also benefits from regular cleaning because spills can affect surface performance.
Fortunately, routine cleaning takes only a few minutes when you use the right method. This guide explains safe cleaning steps, stubborn stain removal, drying, maintenance, and mistakes that can damage the warmer.
Key Takeaways
- Always unplug the warmer before cleaning or handling residue.
- Use a soft damp cloth instead of running water over the unit.
- Apply mild dish soap to the cloth, not directly onto the warmer.
- Never immerse the warmer or allow liquid near electrical openings.
- Remove dried coffee gently without scratching the heating surface.
- Dry every surface completely before reconnecting the power.
Why Regular Cleaning Matters
Coffee spills often contain oils, milk, sugar, and other ingredients that leave stubborn residue. Over time, that residue can create sticky patches and unpleasant odors around the warming surface.
Moreover, dried liquid can collect along edges and seams where cleaning becomes harder. Regular wiping prevents buildup and keeps the warmer looking cleaner between uses.
A clean surface also makes it easier to notice damage, cracks, frayed cords, or unusual discoloration. Therefore, cleaning provides a useful opportunity for a quick safety inspection.
What You Need Before Cleaning
You only need a few household items for routine cleaning. Gather them before starting so you can clean the warmer without rushing.
- Soft microfiber or cotton cloth
- Warm water
- Mild dish soap
- Clean dry towel
- Soft cotton swab for narrow areas
A microfiber cloth works particularly well because it removes residue without creating unnecessary scratches. However, avoid abrasive pads, scouring powders, steel wool, and stiff brushes.
How to Clean the Mug Warmer Safely
1. Unplug the Warmer Completely
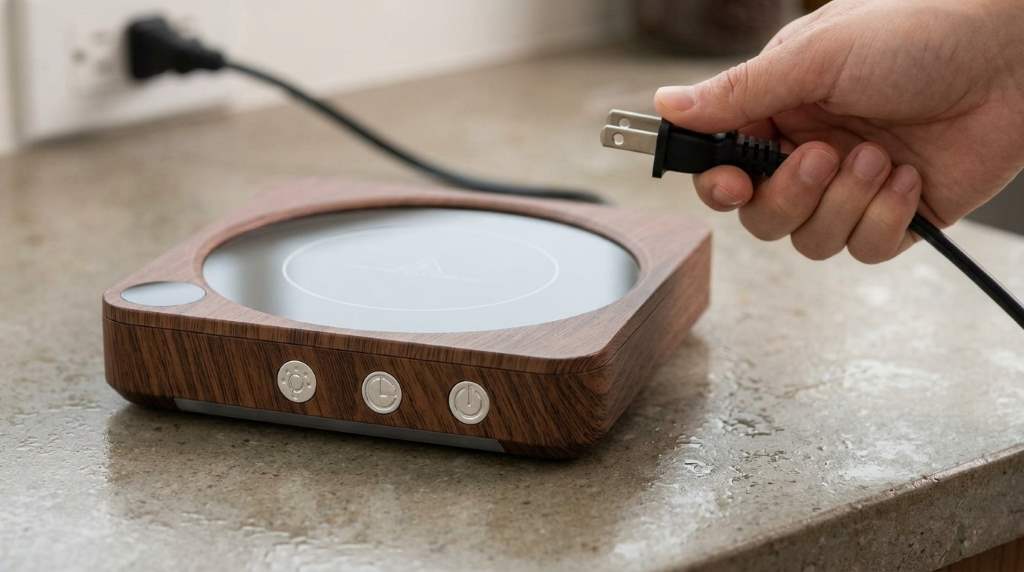
First, disconnect the mug warmer from the electrical outlet. Never clean an energized warmer because moisture can create an electrical hazard.
Next, allow the heating surface to cool completely if you recently used it. A cool surface also makes residue easier to inspect and remove safely.
2. Remove Loose Residue
Wipe the surface with a dry, soft cloth before adding moisture. This step removes crumbs, loose coffee particles, and other dry debris.
Then inspect the edges for dried liquid or sticky deposits. Use gentle pressure because aggressive scrubbing can damage the surface finish.
3. Prepare a Mild Cleaning Solution
Mix a small amount of mild dish soap with warm water. Keep the solution lightly soapy rather than heavily concentrated.
Dip the cloth into the solution and wring it thoroughly. The cloth should feel damp, not wet enough to release drops.
4. Wipe the Heating Surface
Gently wipe the warming surface using small circular motions. Work across the entire area while paying attention to visible coffee rings.
Afterward, use a second cloth dampened with plain water. Wipe away remaining soap without allowing water to collect around controls or openings.
5. Clean the Edges and Controls
Use a lightly dampened cloth around the outer edges of the warmer. For narrow spaces, a barely damp cotton swab can remove small deposits.
However, keep moisture away from electrical connectors, switches, indicator lights, and cable entry points. Never push liquid into gaps while cleaning.
6. Dry Everything Thoroughly
Use a clean, dry towel to remove remaining moisture from the warmer. Then leave the unit unplugged until every surface feels completely dry.
Do not reconnect the warmer simply because the surface looks dry. Hidden moisture can remain around seams and electrical areas longer than expected.
How to Remove Dried Coffee Stains
Dried coffee can become surprisingly stubborn when sugar, cream, or milk remains on the surface. Start with a warm, damp cloth and let it rest over the residue briefly.
After several minutes, wipe the softened residue gently. Repeat the process instead of applying excessive force to remove one difficult spot.
For persistent residue, add a tiny amount of mild dish soap to the damp cloth. Avoid harsh cleaners because they may affect the finish or leave unwanted residue.
How to Handle Sticky Sugar or Milk Residue
Sugary drinks can leave a tacky film that attracts dust and other particles. Milk residue can also develop an unpleasant smell when you leave it untreated.
First, soften the residue with a warm damp cloth. Then wipe repeatedly with gentle pressure until the surface feels smooth again.
Finally, wipe the area with clean water and dry it thoroughly. This final step removes soap and dissolved food residue that could remain behind.
Cleaning Different Parts of the Warmer
| Part | Cleaning Method | Important Precaution |
|---|---|---|
| Heating surface | Damp soft cloth | Do not scratch or soak |
| Outer housing | Lightly damp cloth | Keep moisture away from openings |
| Controls | Barely damp cloth | Never spray cleaner directly |
| Power cord | Dry or slightly damp cloth | Inspect for damage first |
| Edges and seams | Damp cotton swab | Prevent liquid from entering gaps |
What You Should Never Use
Some cleaning products can cause unnecessary damage to a coffee mug warmer. Strong chemicals, abrasive cleaners, and rough scrubbers should stay away from the heating surface.
- Do not immerse the warmer in water.
- Do not rinse the electrical unit under a faucet.
- Do not use bleach or strong chemical cleaners.
- Do not scrub with steel wool or abrasive pads.
- Do not spray cleaning liquid directly onto the warmer.
- Do not reconnect the unit while it remains damp.
Additionally, avoid scraping residue with knives, metal spoons, or other sharp objects. Scratches can make future cleaning harder and may damage the surface.
How Often Should You Clean It?
Clean the warmer whenever a noticeable spill occurs. Prompt cleaning prevents coffee, milk, and sugar from drying into harder deposits.
For frequent users, wipe the surface at least several times each week. A deeper wipe becomes useful whenever visible buildup develops around the heating area.
If you regularly use cream, milk, flavored syrups, or sweeteners, clean the warmer more frequently. These ingredients can leave more residue than plain black coffee.
Common Cleaning Mistakes
Cleaning While Plugged In
Never wipe a wet cloth across an energized electrical appliance. Unplugging the warmer removes an unnecessary electrical risk during cleaning.
Using Too Much Water
More water does not mean better cleaning for electrical appliances. Excess moisture can enter openings and create problems after cleaning.
Scrubbing Too Hard
Hard scrubbing can leave scratches when softer cleaning methods would work. Instead, soften stubborn residue and repeat gentle wiping.
Ignoring the Power Cord
The cord deserves occasional inspection during routine cleaning. Stop using the warmer if you notice exposed wires, severe cracking, or other visible damage.
Reconnecting Too Quickly
Even small amounts of hidden moisture can create problems when electricity returns. Give the warmer enough time to become completely dry before use.
A Simple Five Minute Cleaning Routine
You can keep the warmer clean without making maintenance complicated. A short routine works well when you perform it consistently.
- Unplug the warmer and let the surface cool.
- Remove loose crumbs and dry residue.
- Wipe the surface with a mildly soapy damp cloth.
- Remove soap with a clean damp cloth.
- Dry the entire unit before storing or using it.
This routine works especially well after accidental spills. By cleaning residue before it hardens, you reduce the need for stronger scrubbing later.
When Cleaning Is Not Enough
Cleaning cannot fix every problem that appears on a mug warmer. Persistent electrical issues require attention beyond ordinary surface maintenance.
Stop using the unit if you notice burning smells, damaged wiring, unusual sparking, or visible electrical damage. Likewise, avoid using a warmer that behaves differently after a spill.
Instead, follow the manufacturer’s safety guidance for inspection or replacement. Never attempt electrical repairs unless you have the appropriate expertise and equipment.
How to Keep the Warmer Cleaner Longer
Prevention makes cleaning much easier. Use mugs that sit securely on the warming surface and avoid overfilling beverages near the warmer.
Also, wipe small spills immediately after unplugging the unit. This habit prevents sugary and creamy drinks from becoming hardened residue.
Keep the warmer on a stable, clean surface as well. A cleaner surrounding area reduces crumbs and dust that can collect around the appliance.
Frequently Asked Questions
Can You Wash a Coffee Mug Warmer With Water?
No, avoid washing the electrical warmer under running water because moisture can enter electrical components.
Can You Use Dish Soap on the Warmer?
Yes, use a small amount of mild dish soap on a damp cloth rather than applying soap directly.
How Do You Remove Dried Coffee From a Mug Warmer?
Soften dried coffee with a warm damp cloth, then gently wipe the residue away.
Can You Use Vinegar to Clean a Mug Warmer?
It is safer to use mild dish soap unless the manufacturer’s cleaning instructions specifically approve vinegar.
How Often Should You Clean a Mug Warmer?
Wipe spills immediately and clean the surface several times weekly when you use the warmer frequently.
Final Thoughts
Cleaning a House Gem Coffee Mug Warmer requires gentle wiping, limited moisture, and careful drying. Most everyday coffee residue disappears easily when you clean it before the buildup hardens.
For the best results, unplug the warmer first and use only a soft damp cloth with mild soap. Make this quick routine part of your coffee setup, and inspect the cord during regular cleaning.
Start with a five minute cleaning today, then maintain the surface after spills. That simple habit keeps your warmer cleaner and helps you notice potential safety problems sooner.