How to Use Ember Temperature Control Smart Mug

How to Use Cuisinart 14 Inch Charcoal Grill
September 20, 2026
How to Replace Everydrop EDR3RXD1 Filter
September 20, 2026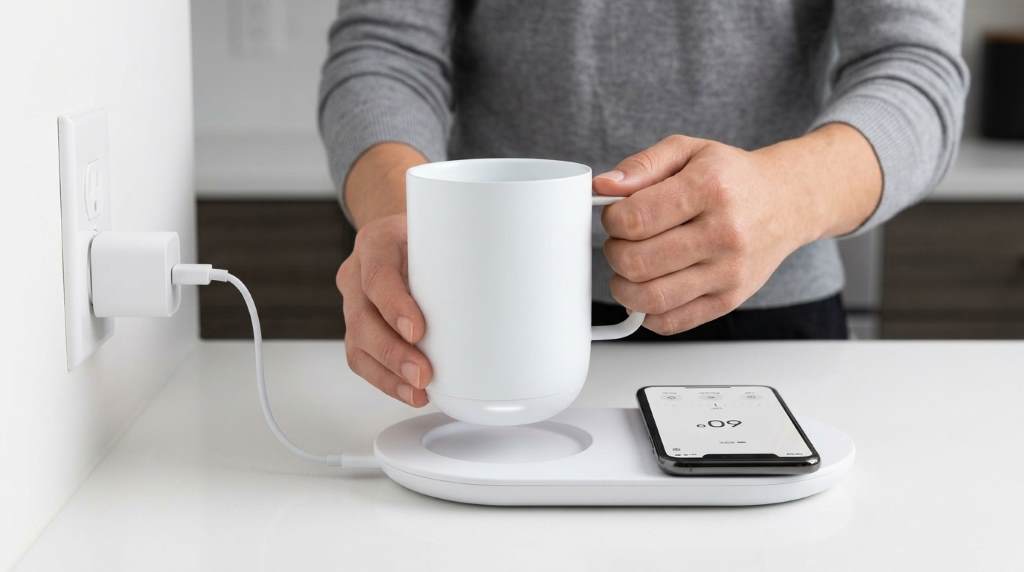
Using an Ember Temperature Control Smart Mug takes only a few steps: charge it, add a hot drink, and set your temperature. The mug supports 120°F to 145°F settings and can maintain your target within about 0.5°F. The Ember Temperature Control Smart Mug works without the app, but the Ember app unlocks temperature adjustments and smart features. This guide explains setup, temperature control, charging, cleaning, battery use, and common fixes.
Key Takeaways
- Charge the mug fully before your first extended use.
- Use the Ember app to set your preferred drinking temperature.
- Pour a hot beverage rather than relying on the mug to heat cold drinks quickly.
- Keep the mug on its charging coaster for extended sessions.
- Hand wash the mug and keep the charging coaster dry.
- Use battery saving habits when drinking away from the coaster.
Start With the Right Ember Mug Setup
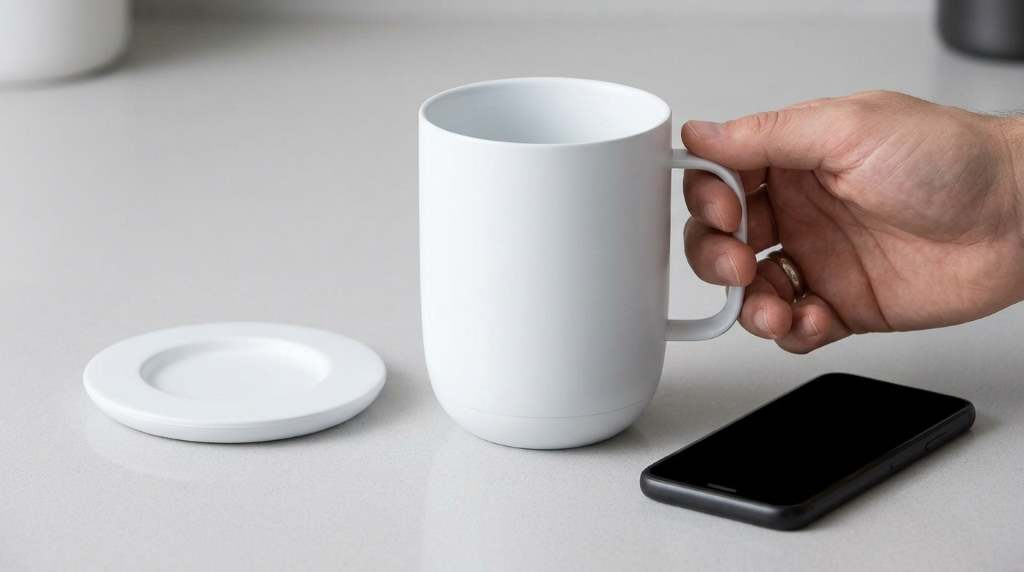
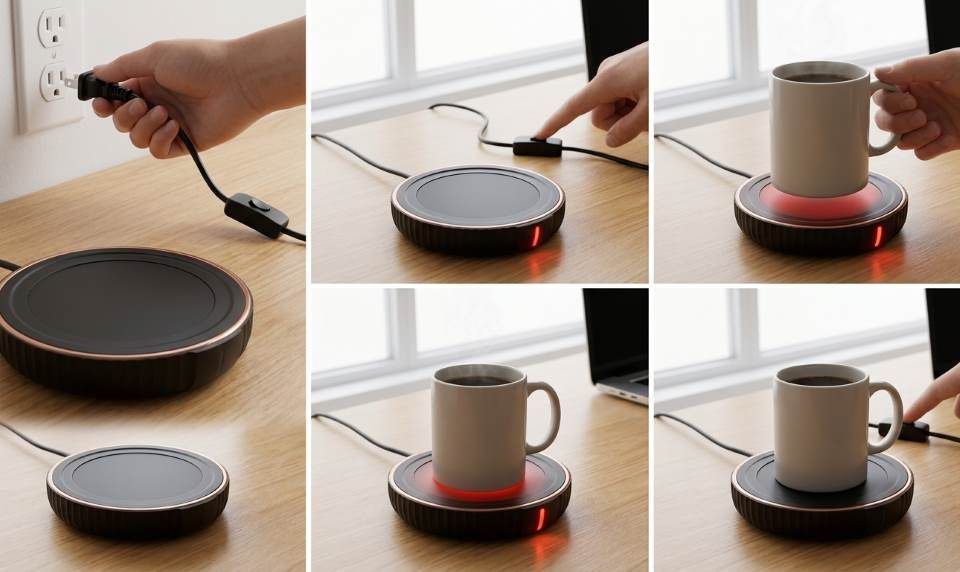
First, place the charging coaster on a stable, dry surface near your regular drinking area. Then connect the coaster to power and position the mug correctly on top.
Next, allow the mug to charge before planning a long coffee session away from its coaster. A properly charged battery gives the heating system more room to maintain your selected temperature.
After charging, add your hot beverage and let the mug detect the liquid. The mug can operate without the app, which makes basic everyday use straightforward.
What the Ember App Adds
The Ember app gives you direct control over your preferred temperature and additional smart functions. However, you do not need the app simply to keep using the mug.
Pairing also makes sense when you want precise temperature changes rather than the default setting. Therefore, install the app if you regularly switch between coffee, tea, or other hot beverages.
How to Set the Drinking Temperature
Open the Ember app and connect your mug through Bluetooth before changing the temperature. Then move the temperature control until you reach the setting that feels comfortable.
The current Ember Mug 2 supports settings from 120°F through 145°F in one degree increments. Ember states that its system maintains the selected temperature within approximately 0.5°F.
Start around 130°F to 135°F if you want a comfortable everyday drinking temperature. Then adjust gradually instead of immediately selecting the highest available setting.
Why Your Starting Temperature Matters
Pouring a hot beverage helps the mug reach your target temperature more efficiently. The mug works best when it maintains heat rather than rapidly heating a cold drink.
For example, freshly brewed coffee can reach your selected setting more efficiently than refrigerated coffee. Therefore, use the Ember primarily as a temperature maintenance system.
When you pour a cooler drink, expect the mug to work harder and take longer. That process can also consume more battery power during untethered use.
Use the Mug Away From the Coaster
Once charged, you can lift the mug from its coaster and continue drinking elsewhere. The battery then powers the heating system while the mug maintains your selected temperature.
Battery performance depends on temperature, beverage conditions, ambient temperature, and whether you use a compatible lid. The current 14 ounce Ember Mug 2 specification lists up to 80 minutes away from the coaster at 135°F.
Therefore, treat the battery as support for shorter sessions rather than unlimited mobile use. For longer work sessions, keep the mug on its charging coaster whenever practical.
Use the Coaster for Extended Sessions
The charging coaster provides the simplest solution for long desk sessions. Place the mug back on the coaster whenever you finish moving around.
Ember states that the 14 ounce model can maintain temperature while sitting on its coaster. The mug also uses automatic sleep behavior to reduce unnecessary energy consumption.
Consequently, a desk based setup can keep your drink ready throughout a long morning. This approach also reduces the need to monitor battery levels constantly.
Understand the LED Before Troubleshooting
The LED indicator provides useful feedback about the mug’s current state. Watch it when charging, heating, pairing, or checking whether the mug remains active.
However, LED behavior can vary between models and operating states. Therefore, check the current Ember app information when a color or pattern seems unfamiliar.
Do not assume that every LED change means a fault. Instead, first check whether the mug has liquid, sufficient charge, and proper coaster contact.
Clean the Ember Mug Correctly
Cleaning requires more care than cleaning an ordinary ceramic mug. Ember recommends hand washing the mug rather than putting it inside a dishwasher.
Although the mug has water resistance for immersion, the charging coaster should never receive the same treatment. Keep electrical contacts and the coaster away from standing water.
A Simple Cleaning Routine
- Empty the mug completely after drinking.
- Rinse the interior with clean water.
- Apply a small amount of mild dish soap.
- Wash gently with a soft sponge.
- Rinse away all soap residue.
- Dry the exterior and bottom thoroughly.
- Return the mug to the coaster only after drying.
Avoid abrasive cleaners and harsh scrubbers because they can damage the mug’s surface. Also, never place the charging coaster under running water.
How to Get Better Battery Performance
Your temperature setting directly affects how much work the heating system performs. Higher temperatures generally require more energy than lower maintenance settings.
Therefore, start with a realistic drinking temperature rather than automatically using the maximum setting. Keeping the mug on its coaster also reduces dependence on battery capacity.
Additionally, avoid repeatedly moving the mug between cold environments and warm rooms. Frequent temperature changes can make the heating system work harder.
Use a Lid When Appropriate
A compatible sliding lid can help retain heat while you move around. Ember currently lists longer untethered operation with a lid on its 14 ounce model.
However, a lid does not replace charging when you need extended use. Think of it as a heat retention aid that can complement battery operation.
Fix Common Ember Mug Problems
The Mug Does Not Heat
First, check whether the mug has enough battery power and whether the coaster connects correctly. Next, confirm that your beverage contains enough heat for normal temperature maintenance.
If the drink starts significantly below your target, the mug may need considerably more time to raise its temperature. Returning the mug to the powered coaster can help during demanding heating situations.
The App Will Not Connect
Start by confirming Bluetooth remains enabled on your smartphone. Then keep the phone close to the mug while reopening the Ember app.
If the connection still fails, restart the app and check whether the mug requires charging. Also, make sure your phone uses a compatible operating system.
The Battery Drains Too Quickly
Check whether you regularly use high temperature settings away from the coaster. Also consider how often you remove the mug during each drinking session.
For long work periods, keep the mug on the charging coaster instead. This setup provides a more predictable experience than repeatedly relying on battery power.
The Mug Stops Working During Cleaning
Allow the mug to dry completely before placing it onto the charging coaster. Moisture around the base can interfere with reliable charging contact.
Also, inspect the coaster for spills before reconnecting power. A clean and dry charging area supports safer everyday operation.
Use Different Drinks With Practical Temperature Habits
Coffee often works well around the middle of Ember’s temperature range. Tea preferences vary more widely, so test your preferred setting gradually.
Hot chocolate, herbal drinks, and similar beverages can also benefit from steady temperature control. Nevertheless, avoid treating every beverage as if one temperature suits everyone.
- Coffee: Start around 130°F to 135°F and adjust according to taste.
- Black tea: Test a moderate setting before moving higher.
- Green tea: Consider a lower setting to protect delicate flavors.
- Hot chocolate: Use a comfortable temperature that prevents excessive heat while sipping.
These starting points serve as practical experiments rather than universal rules. Your preferred drinking temperature should ultimately guide the final setting.
Build an Easier Daily Ember Routine
A simple routine makes the smart features feel less complicated. Charge the mug, prepare your drink, set your temperature, and keep the coaster nearby.
Then clean the mug after use and return it to the coaster once it dries. This routine reduces forgotten charging sessions and helps keep the mug ready.
For office use, place the coaster beside your keyboard or notebook. For home use, position it where you normally prepare your morning drink.
What Competitor Guides Often Miss
Many basic guides explain app pairing and temperature settings but give less attention to everyday battery strategy. A useful guide should explain when to use the coaster, when to use battery power, and why starting with a hot drink matters.
Cleaning also deserves more attention because incorrect washing can shorten the useful life of electronic drinkware. Likewise, troubleshooting should connect symptoms with practical checks instead of simply recommending a reset.
This approach makes the instructions more useful because it answers the questions users face after initial setup. It also helps new owners avoid common mistakes before those mistakes become habits.
Best Practices for Long Term Use
Keep the mug clean, dry the base, and use the coaster consistently. These simple habits support reliable charging and predictable temperature control.
Also, avoid forcing the mug to perform tasks outside its intended design. The Ember Mug focuses on maintaining hot beverages within its supported temperature range.
Finally, remember your last successful temperature setting and adjust only when needed. The mug can remember your preferred setting, which simplifies repeated daily use.
Frequently Asked Questions
Can I use an Ember Mug without the app?
Yes, the mug works without the app, while app pairing provides additional temperature control and smart features.
What temperature should I set my Ember Mug?
Start around 130°F to 135°F, then adjust gradually according to your preferred drinking temperature.
Can I put my Ember Mug in the dishwasher?
No, Ember recommends hand washing the mug and keeping the charging coaster away from water.
Can the Ember Mug heat cold coffee?
The mug can warm cooler drinks, but it works more efficiently when you start with a hot beverage.
How long does an Ember Mug battery last?
The current 14 ounce Ember Mug 2 provides up to 80 minutes away from its coaster at 135°F.
Final Thoughts
Learning how to use an Ember smart mug becomes easy once you understand its basic workflow. Charge it, add a hot drink, set your preferred temperature, and use the coaster for longer sessions.
For the best experience, keep the mug clean, protect the charging coaster, and avoid unnecessary high temperature settings. Start with these habits today, then adjust the routine around your normal coffee or tea schedule.