How to Flush an Everydrop EDR2RXD1 Water Filter Properly

Why Is My Everydrop EDR1RXD1 Water Filter Leaking?
August 12, 2026
Why Is Flow Slow After Changing Everydrop EDR4RXD1 Filter?
August 12, 2026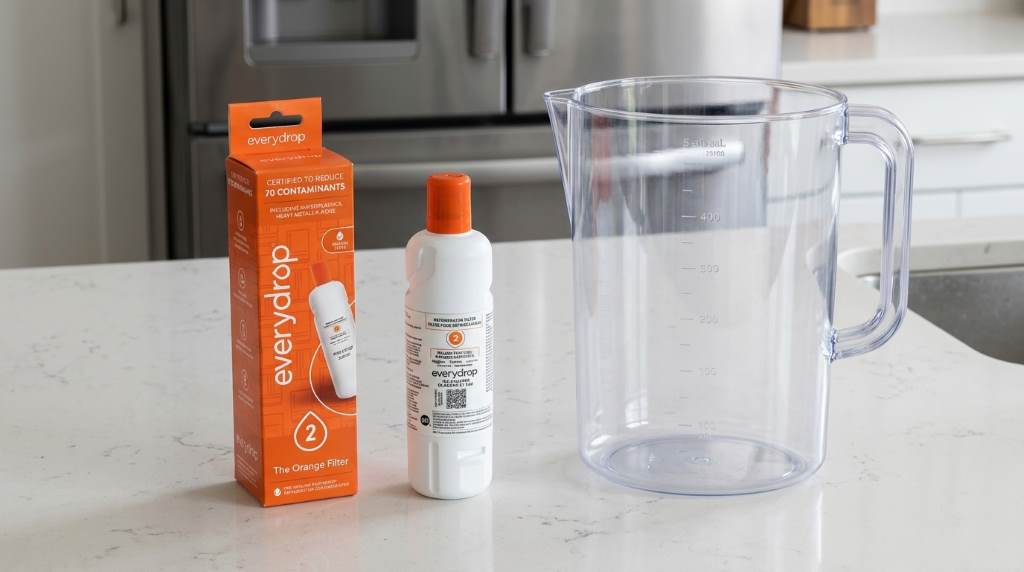
Yes, flush a new Everydrop EDR2RXD1 water filter before drinking the filtered water. The manufacturer specifies 4 gallons of flushing for this filter, while replacement generally occurs every six months. A Everydrop EDR2RXD1 water filter needs proper flushing because activated carbon filters can release harmless carbon fines during initial use. Therefore, flushing clears those particles, purges trapped air, and helps restore normal dispenser flow. The process usually takes several minutes, depending on dispenser flow rate.
Why You Need to Flush the EDR2RXD1 Filter
Flushing prepares the cartridge for normal operation after installation. A fresh carbon filter can contain loose carbon particles from manufacturing and handling.
Consequently, your first glasses may look slightly cloudy or contain tiny black specks. Those particles usually represent carbon fines rather than a damaged filter.
Flushing also removes trapped air inside the cartridge and refrigerator water line. Removing that air helps reduce sputtering, inconsistent flow, and temporary dispenser dripping.
Everydrop recommends flushing the water system after installing a replacement filter. The EDR2RXD1 performance information specifically calls for flushing 4 gallons before use.
What You Need Before Starting
You do not need special tools for this procedure. However, preparing a large container makes the process cleaner and easier.
- A newly installed EDR2RXD1 filter
- A large pitcher, bowl, or clean container
- Access to the refrigerator water dispenser
- A clean towel for accidental spills
- The refrigerator water supply turned on
Before flushing, confirm that you installed the correct filter model. EDR2RXD1 belongs to Everydrop Filter 2 and fits selected compatible refrigerator models.
Also, check that you removed the filter packaging and sealing materials. Make sure the cartridge sits firmly in its housing before dispensing water.
How to Flush an Everydrop EDR2RXD1 Water Filter
1. Install the Filter Correctly
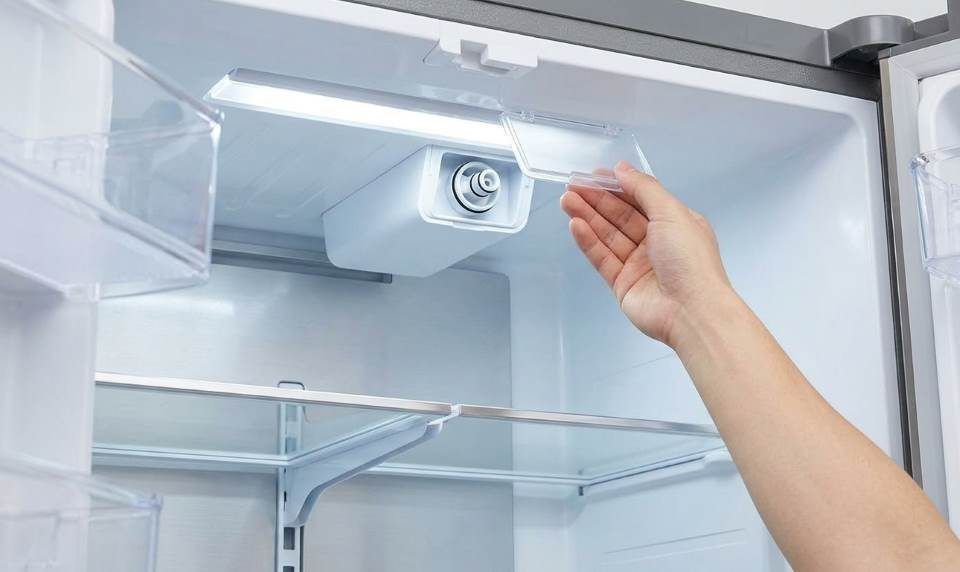
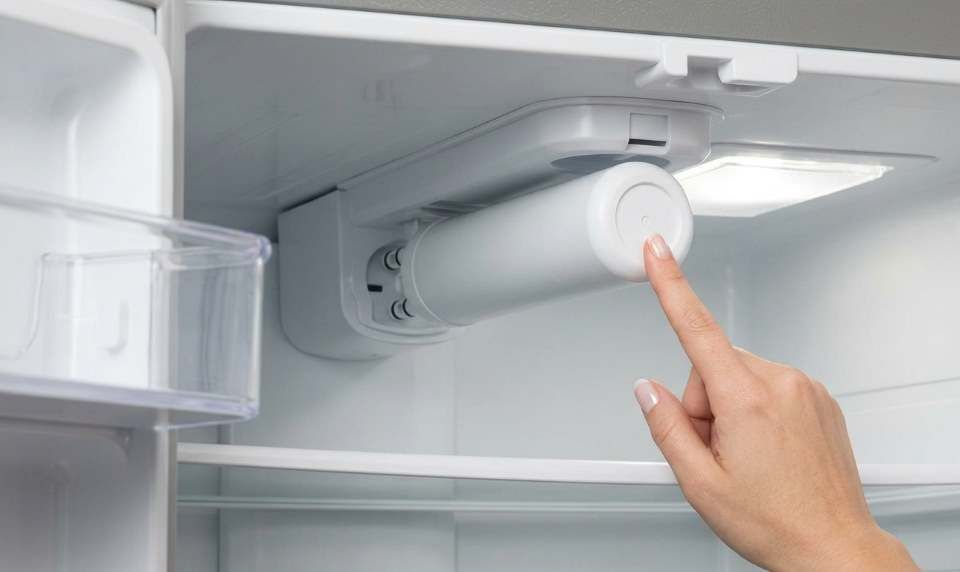
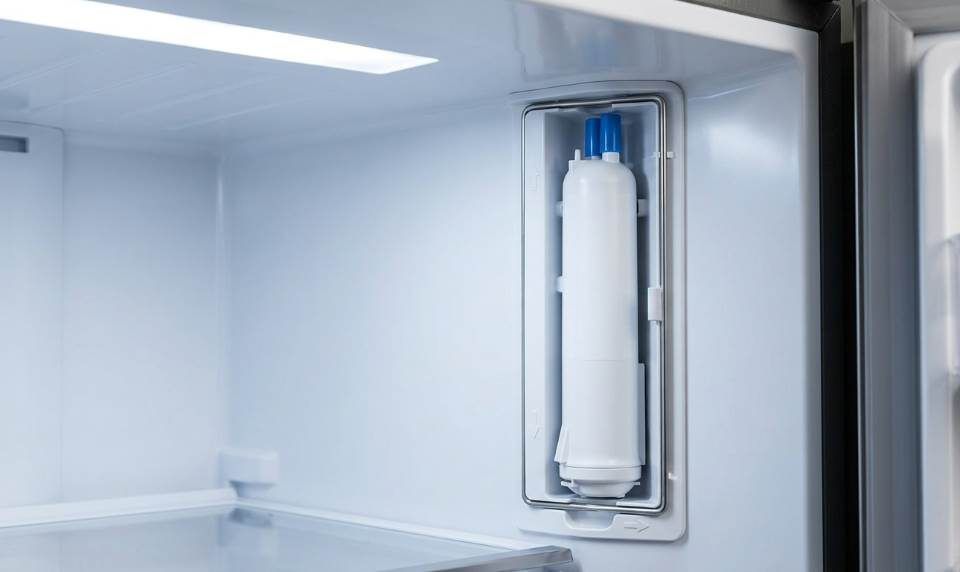
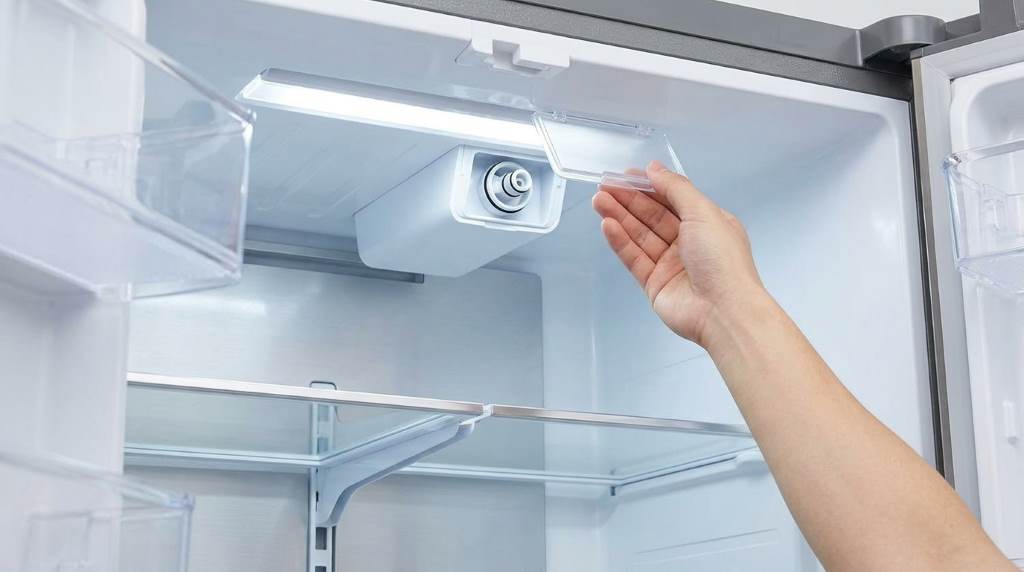
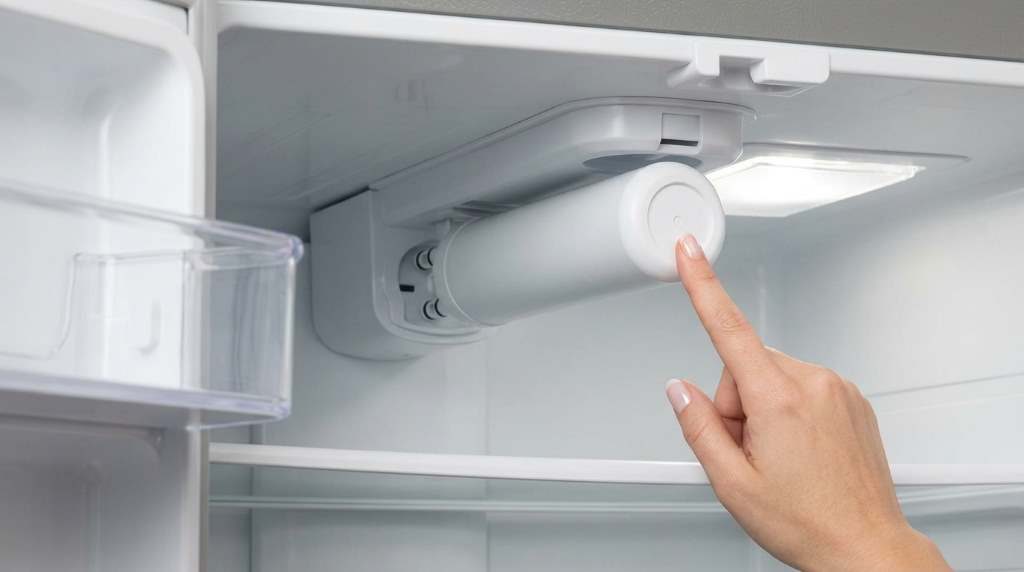
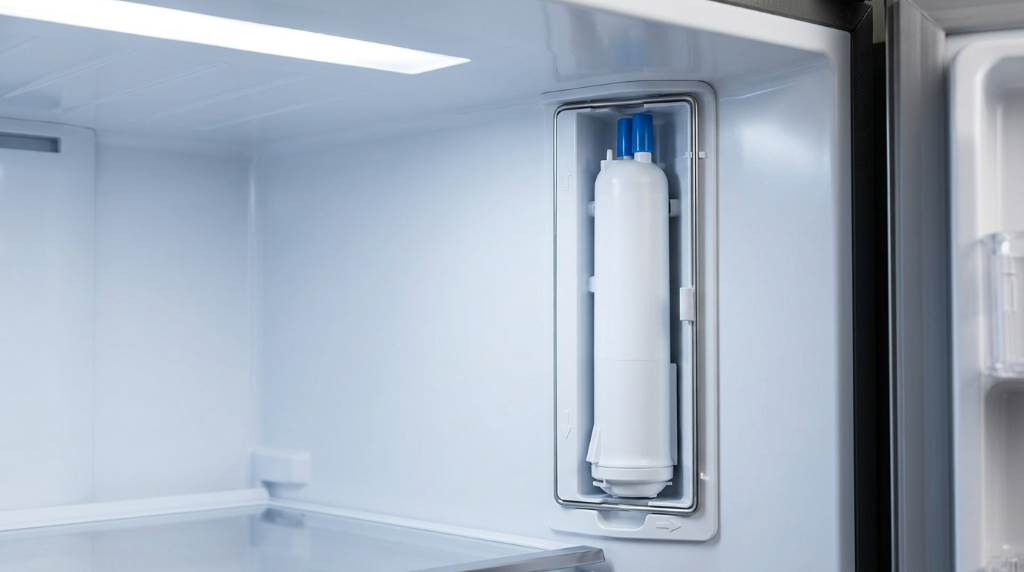
First, locate the refrigerator filter housing according to your refrigerator design. Many compatible models place the filter inside the fresh food compartment.
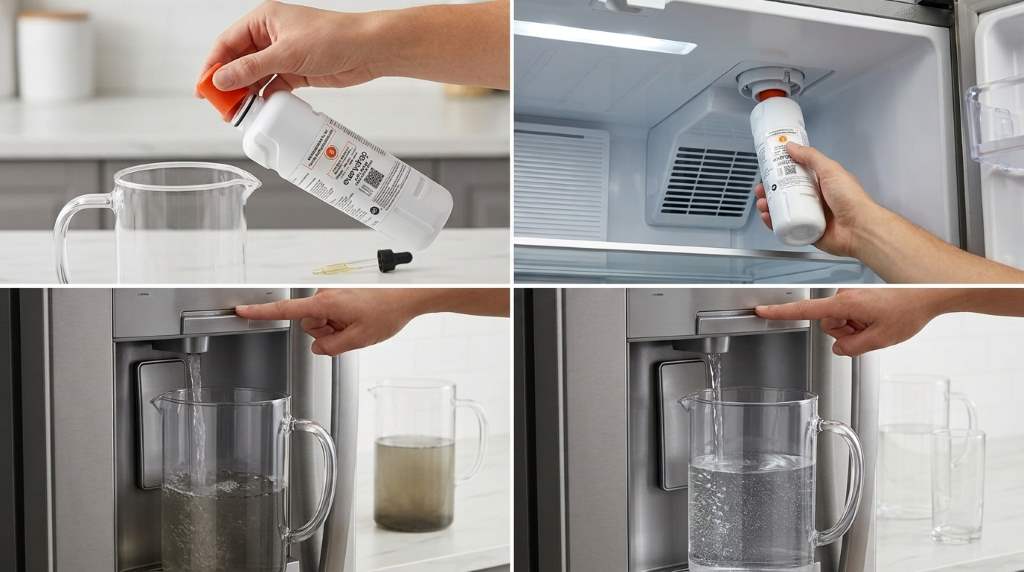
Remove the old cartridge and prepare the new EDR2RXD1. Remove its packaging and protective covers before installation.
Next, insert the filter into the housing and rotate it until it locks. Do not force the cartridge if the mechanism resists.
Then, close the filter cover completely and check the cartridge connection. A loose filter can cause poor flow or water leakage.
2. Turn On the Water Supply
Confirm that the refrigerator receives water before starting the flush. A closed supply valve prevents water from reaching the dispenser.
After installation, wait briefly for the water system to pressurize. Then place your container beneath the dispenser outlet.
Keep a towel nearby because the first flow can sputter. This simple preparation also protects the floor from accidental splashes.
3. Begin Dispensing Water
Press the dispenser lever and allow water to flow into the container. Do not drink the initial water from a new filter.
At first, the water may sputter because air remains inside the cartridge. Continue dispensing while keeping the container positioned securely.
Everydrop also recommends cycling the dispenser during air removal. Hold the dispenser for about five seconds, then release it for five seconds.
Repeat those cycles until water flows steadily. Continue flushing afterward to remove remaining air and carbon fines.
4. Flush the Full Four Gallons
The key step involves flushing approximately 4 gallons of water through the new cartridge. This amount helps clear initial carbon particles from the filter.
Use a marked container if you want accurate volume control. Otherwise, several large containers can help you estimate the total amount.
Do not rush this stage by assuming clear water means flushing has finished. Clear appearance alone does not confirm that you reached the recommended volume.
Continue dispensing until approximately 4 gallons have passed through the filter. Then stop the dispenser and inspect the water.
5. Check the Water After Flushing
After completing the flush, examine the water in a clean glass. The water should appear clear and free from visible particles.
A slight initial carbon taste can sometimes remain temporarily. If the taste persists, dispense additional water and reassess the result.
Also, check the dispenser for normal pressure and steady flow. Watch the filter housing for leaks during and after dispensing.
6. Reset the Filter Indicator
Some compatible refrigerators use a filter status indicator to track cartridge replacement. After installing the new filter, reset that indicator according to your refrigerator controls.
The exact reset sequence varies between refrigerator models. Therefore, use your refrigerator’s control instructions rather than applying one universal button sequence.
Resetting the indicator does not flush the filter. Treat these as separate tasks that both support proper filter maintenance.
Why Four Gallons Matters
The four gallon instruction provides a measurable flushing target. That approach works better than relying only on appearance or taste.
Carbon filtration depends on an activated carbon core that interacts with passing water. Initial flushing helps remove loose material generated during cartridge production.
Furthermore, adequate flushing helps stabilize the filter before regular household use. It also reduces the chance of serving water containing visible carbon particles.
| Step | What to Do | Purpose |
|---|---|---|
| Install | Secure the EDR2RXD1 cartridge | Creates a proper seal |
| Start | Dispense water into a container | Begins air and particle removal |
| Cycle | Use five second dispensing intervals | Helps purge trapped air |
| Flush | Run approximately 4 gallons | Clears initial carbon fines |
| Inspect | Check clarity, taste, flow, and leaks | Confirms normal operation |
| Reset | Reset the refrigerator filter indicator | Starts the new filter tracking period |
Common EDR2RXD1 Flushing Mistakes
Stopping After One Glass
One glass rarely provides enough flushing for a newly installed cartridge. Instead, follow the recommended four gallon volume.
Even if the first water looks clear, continue the flushing process. Carbon particles can remain inside the cartridge without obvious visual signs.
Drinking the First Water
Avoid drinking the initial water from a newly installed filter. Direct that water into a container instead.
This simple habit prevents unnecessary exposure to initial carbon fines. It also gives the cartridge time to stabilize before normal use.
Ignoring Air in the System
Air can enter the water line during filter replacement. As a result, the dispenser may sputter or produce uneven flow.
Use repeated five second dispensing cycles to help purge that air. Continue until the stream becomes consistent.
Using Hot Water
Use the refrigerator’s cold water dispenser during flushing. The EDR2RXD1 filtration system is intended for cold water applications.
Hot water can create conditions outside the filter’s intended operating range. Therefore, avoid using heated water during this procedure.
Forcing the Filter Into Place
A filter should engage smoothly when you follow the correct installation direction. Forcing the cartridge can damage the housing or sealing components.
If the filter does not fit, stop and verify the refrigerator model and cartridge orientation. Never use excessive force to make a cartridge fit.
What to Do If the Water Looks Cloudy
Slight cloudiness immediately after installation can result from tiny air bubbles. These bubbles often disappear after the water sits briefly.
Carbon fines can also make early water appear gray or contain small black particles. Continue flushing the cartridge rather than drinking that initial water.
However, persistent discoloration deserves closer attention. Check the filter installation, cartridge condition, and refrigerator water system before continuing regular use.
What to Do If Water Flow Becomes Slow
A slower stream immediately after installation can indicate trapped air. Continue the recommended dispensing cycles to purge the line.
Next, verify that the filter sits completely inside its housing. A partially engaged cartridge can restrict water movement or prevent proper sealing.
Also, check whether the refrigerator’s water supply valve remains fully open. A restricted supply can reduce dispenser flow independently of the filter.
If flow remains unusually weak after proper installation and flushing, inspect the refrigerator’s water line. A kinked line or unrelated appliance issue may cause the restriction.
How Often Should You Replace the EDR2RXD1?
Everydrop recommends replacing its compatible refrigerator water filters at regular intervals. For EDR2RXD1, the commonly stated replacement interval is every six months.
Usage also matters because filter capacity depends on water consumption. Therefore, follow the refrigerator’s filter indicator and the applicable manufacturer instructions.
Do not extend filter service indefinitely because the water still tastes acceptable. Filter performance depends on cartridge capacity, usage, and water conditions.
Replacing the cartridge on schedule also gives you a consistent maintenance routine. After every replacement, repeat the complete flushing procedure.
EDR2RXD1 Maintenance Checklist
- Verify the refrigerator accepts EDR2RXD1.
- Remove all filter packaging before installation.
- Install the cartridge without forcing it.
- Confirm the water supply remains open.
- Purge trapped air using repeated dispenser cycles.
- Flush approximately 4 gallons before drinking.
- Check water clarity and dispenser flow.
- Inspect the filter connection for leaks.
- Reset the refrigerator filter indicator.
- Replace the cartridge according to the recommended schedule.
When You Should Stop and Troubleshoot
Most filter replacements require only basic household maintenance. Still, unusual symptoms can indicate a problem beyond normal carbon flushing.
Stop using the dispenser if you notice persistent leaks, damaged filter housing, or unusual water contamination. Then inspect the installation before dispensing additional water.
If the cartridge appears damaged, do not attempt to repair it. Replace the filter with a compatible, undamaged cartridge instead.
When problems continue after correct installation, consult the refrigerator’s model specific instructions. The refrigerator model determines the filter housing and reset procedure.
Final Tips for Better Filter Performance
Good flushing starts with correct installation and ends with a careful inspection. The process becomes simple when you measure the water rather than guessing.
Keep your replacement schedule consistent and monitor changes in flow or taste. Those habits help you identify filter or refrigerator problems sooner.
Most importantly, never skip the initial flush simply because the water looks clear. Proper preparation helps your new cartridge begin normal service under better conditions.
Conclusion
Flushing an EDR2RXD1 properly requires more than running one glass through the dispenser. Install the cartridge securely, purge trapped air, and flush approximately four gallons before drinking.
Afterward, check the water, inspect for leaks, and reset your refrigerator’s filter indicator. Follow these steps whenever you install a replacement cartridge for reliable everyday performance.
If you recently installed an EDR2RXD1, flush it before serving the water to your household. Make the four gallon flush part of your regular filter replacement routine.
FAQs About Flushing the EDR2RXD1 Filter
How much water should I flush through an EDR2RXD1?
Flush approximately 4 gallons of water through the new EDR2RXD1 before drinking it.
Why does my new EDR2RXD1 produce black specks?
Black specks usually come from loose activated carbon particles released during initial filter use.
Can I drink the first water from a new EDR2RXD1?
No, discard the initial water and complete the recommended flushing process before drinking.
Why does my refrigerator dispenser sputter after filter replacement?
Trapped air commonly causes sputtering, so repeated five second dispensing cycles can help purge the water line.
How often should I replace an EDR2RXD1 filter?
Replace the filter according to the manufacturer’s schedule, commonly every six months for regular household use.