How to Use Weber Original Kettle Grill

How to Use Weber Jumbo Joe Premium Grill
September 21, 2026
How to Use Weber Original Kettle Premium Grill
September 21, 2026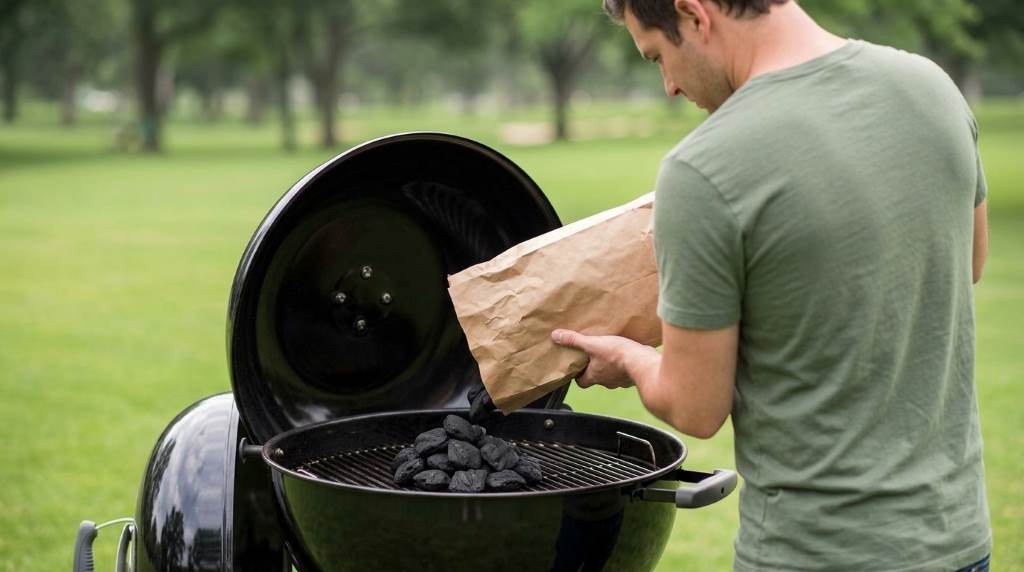
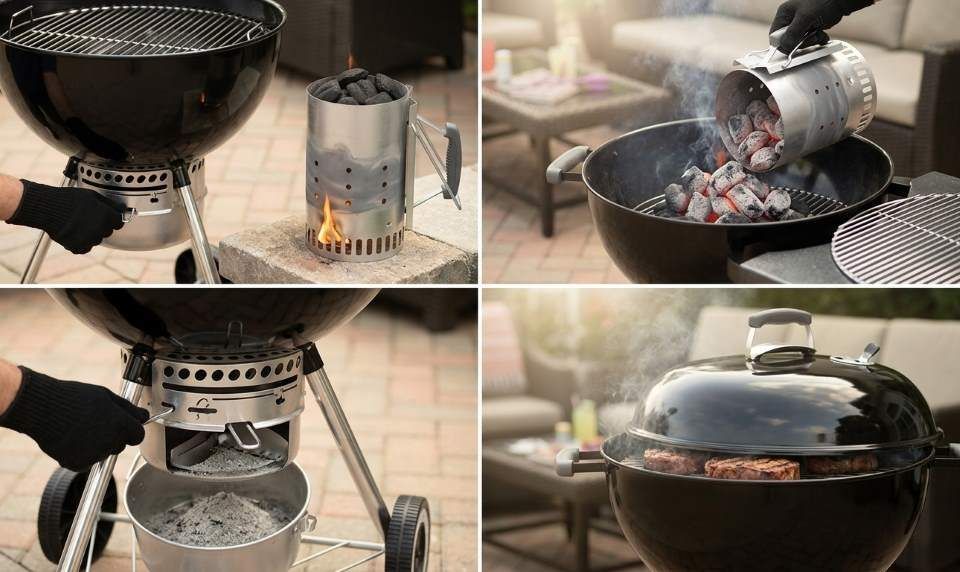
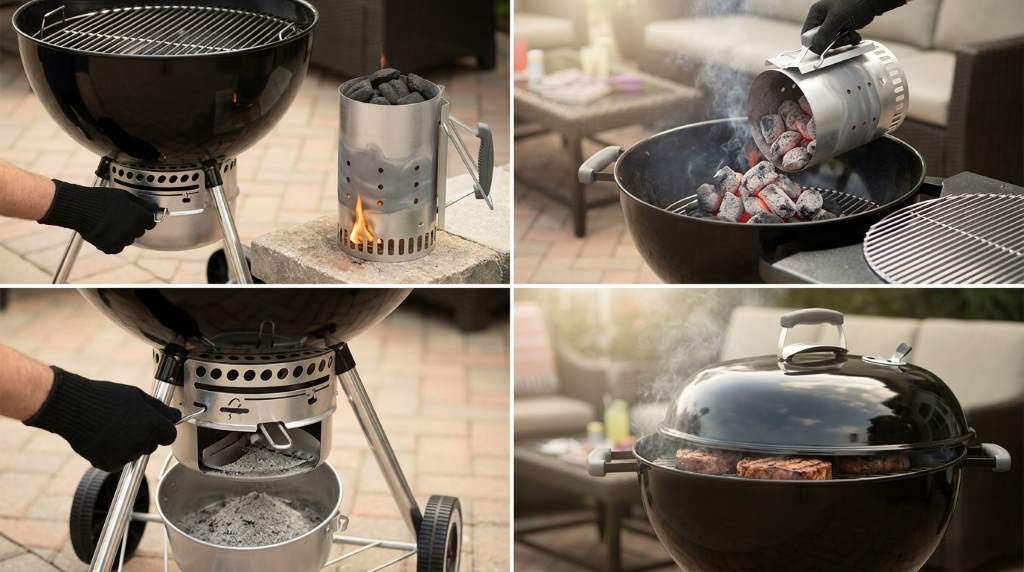
You use the kettle by lighting charcoal in a chimney starter until hot briquettes turn grey. Next, arrange the coals across the lower charcoal grate for direct searing or indirect roasting. Finally, adjust top and bottom dampers to regulate internal heat and monitor your cook.
Industry surveys report that 65 percent of backyard grill masters prefer cooking over authentic charcoal. Furthermore, cooking analytics reveal that twenty-two-inch kettle cookers retain heat 28 percent better than budget sheet-metal barrels. Mastering the Weber Original Kettle Grill unlocks delicious sear marks, tender roasts, and deep smoky flavors. This classic backyard centerpiece provides dependable outdoor cooking performance across all seasons.
This practical guide explains chimney lighting, dual-zone temperature management, and proper airflow regulation step by step. In addition, you will discover essential tips for ash removal and porcelain shell preservation. Follow our proven techniques to turn everyday meats into memorable culinary feasts.
Key Takeaways
- Ignite charcoal using a chimney starter to avoid unpleasant chemical accelerant odors.
- Hang the porcelain lid on the internal rim hook to shield food from winds.
- Establish two distinct cooking zones to roast poultry gently without burning skin.
- Manipulate top and bottom dampers together to maintain steady cooking temperatures.
- Sweep loose ash into the lower aluminum collection pan after components cool down.
- Brush cooking grates immediately after preheating to ensure sanitary food contact surfaces.
Anatomy of the Classic Twenty-Two-Inch Kettle
The iconic silhouette features heavy-gauge porcelain-enameled steel that resists weathering, rust, and high heat blistering. Specifically, the round bowl shape circulates convective heat currents evenly across all three hundred sixty-three square inches. In addition, durable tripod legs and all-weather wheels provide sturdy mobility across backyard patios.
Inside the bowl, two heavy-gauge steel wire grates handle distinct cooking tasks efficiently. For instance, the lower charcoal grate supports glowing briquettes while maintaining space for incoming airflow. Meanwhile, the upper plated-steel cooking grate holds heavy meat roasts securely without sagging.
The porcelain lid includes an integrated heat shield handle for safe gripping during cooking sessions. Furthermore, an angled internal lid hook allows you to hang the lid directly from the bowl rim. Consequently, you keep both hands completely free to manage tongs and food platters.
Choosing the Best Charcoal Fuel for Backyard Cooking
Selecting the right fuel determines fire longevity, aroma characteristics, and heat stability throughout your meal. First, consider traditional hardwood briquettes for long-lasting burns during roasts and whole chickens. Specifically, dense briquettes provide uniform heat output that lasts for over ninety minutes.
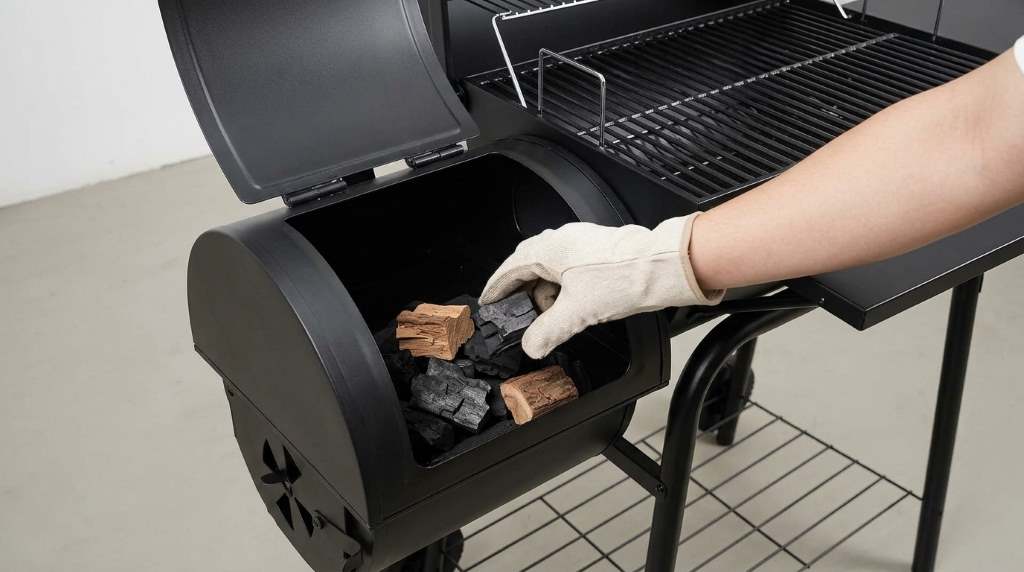
Alternatively, all-natural hardwood lump charcoal delivers rapid ignition and reaches scorching searing temperatures easily. In fact, lump charcoal produces very little ash and adds delicate hardwood aroma to steaks. Moreover, many experienced grillers combine lump and briquettes to achieve the best traits of both.
Never spray liquid lighter fluid over charcoal sitting inside your kettle cooker. Petroleum chemicals leave foul deposits on porcelain surfaces and contaminate delicate food flavor. Instead, ignite coals cleanly using natural wax cubes placed underneath a chimney starter.
Step-by-Step Grill Lighting and Preparation
Establishing a dependable coal fire requires proper airflow and systematic chimney ignition practices. First, place your kettle on a level, fire-resistant outdoor surface away from dry landscaping. Follow these simple steps to prepare your grill for active cooking.
Step 1: Inspecting Grates and Setting Airflow
Remove the porcelain lid and hang it securely onto the bowl side hook. Next, remove the plated-steel cooking grate and set it aside on a clean surface. Inspect the lower charcoal grate to ensure old ash deposits do not block lower vent openings.
Slide the bottom bowl damper lever back and forth several times to clear debris. In addition, open the bottom damper fully to provide maximum fresh oxygen to the coal bed. Strong incoming airflow accelerates initial chimney ignition and creates intense combustion draft.
Check the tripod leg connections to ensure the grill stands completely firm and balanced. Never operate an unstable or wobbly charcoal cooker on wooden deck surfaces. Proper balance ensures hot coals remain safely contained inside the heavy porcelain bowl.
Step 2: Lighting Coals with a Chimney Canister
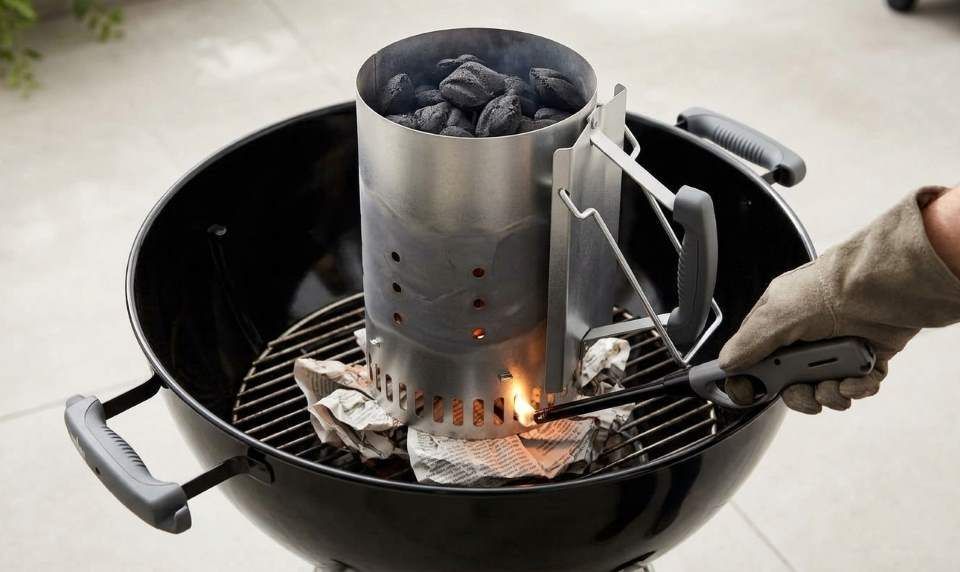
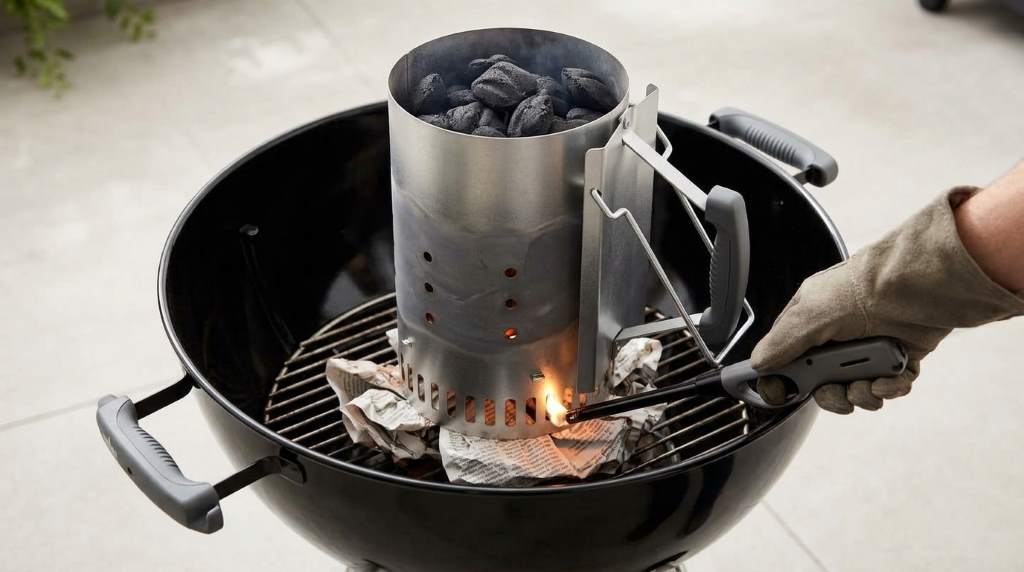
Place two paraffin wax fire starter cubes onto the center of the bottom charcoal grate. Next, set a full chimney starter upright directly over the lighting cubes. Fill the metal chimney cylinder to the brim with approximately eighty uniform briquettes.
Ignite the starter cubes beneath the chimney using a long barbecue safety match. The flames will ignite the bottom coals and draft upward through the vertical chimney cylinder. Furthermore, thick white smoke will give way to clear heat waves within fifteen minutes.
Wait patiently until gray ash covers the briquettes at the top of the chimney. Once glowing orange coals show at the bottom vents, your fuel is ready for dumping. Always wear insulated barbecue gloves when lifting and tilting the hot metal chimney.
Step 3: Arranging Direct and Two-Zone Coal Beds
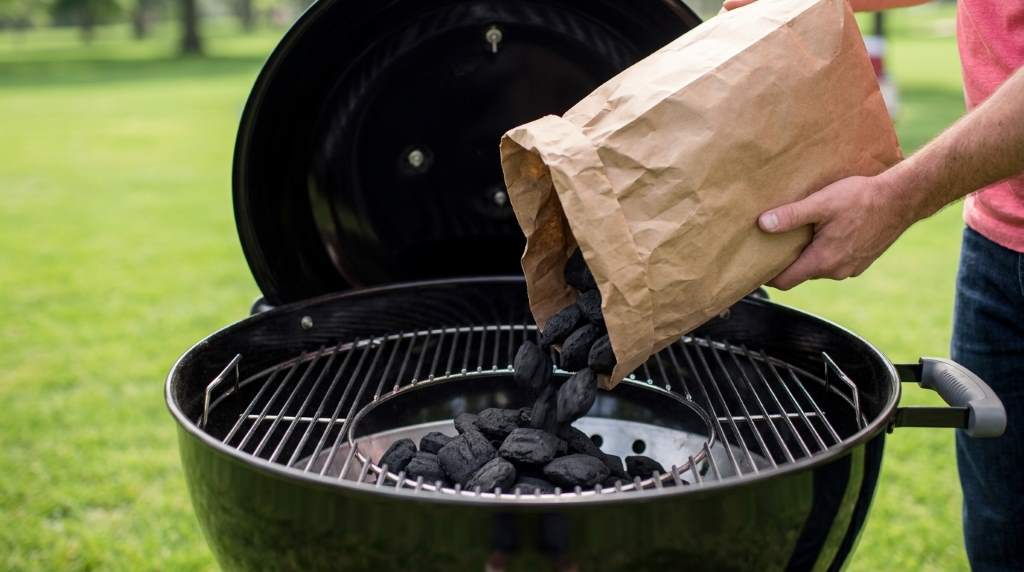
Pour glowing coals onto the lower grate according to your intended cooking technique. For fast direct searing, spread hot coals evenly across the entire lower charcoal grate. This setup generates intense radiant heat ideal for burgers, hot dogs, and thin steaks.
Conversely, push all burning coals onto one side of the lower grate for two-zone cooking. This layout creates an active searing zone and a gentle indirect convection zone. Therefore, you can sear thick pork chops before sliding them over to bake gently.
Place the clean cooking grate onto internal bowl brackets directly above the burning coals. Next, replace the porcelain lid with the exhaust damper positioned fully open. Allow the cooking grate to preheat under cover for ten minutes before brushing.
Regulating Cooking Temperatures with Kettle Dampers
Controlling kettle temperature requires adjusting oxygen flow through the top lid and bottom bowl dampers. In fact, opening dampers feeds oxygen to the fire, causing temperatures to rise rapidly. Conversely, closing dampers restricts air intake, which drops internal temperatures smoothly.
Use the lower bowl damper lever to establish your coarse baseline cooking temperature. For searing above four hundred fifty degrees, leave the bottom damper fully open. For medium roasting around three hundred fifty degrees, slide the lever to half open.
Adjust the top lid damper to fine-tune exhaust draft and draw smoke over your food. In particular, position the lid damper directly over the cool side during two-zone cooking. Consequently, hot convective heat and fragrant wood smoke sweep across the meat before escaping.
Recommended Cooking Times and Temperatures
Understanding ideal cooking zones and target internal doneness prevents dry, scorched, or undercooked meats. Refer to the comprehensive temperature reference table below for reliable outdoor results.
| Food Item | Cooking Method | Target Grill Temp | Target Meat Temp |
|---|---|---|---|
| Thick Cut Ribeyes | Reverse Sear Method | 250F Then 500F | 135F Medium Rare |
| Whole Spatchcock Chicken | Indirect Two-Zone | 375F to 425F | 165F Breast Meat |
| Pork Baby Back Ribs | Indirect Low and Slow | 225F to 250F | 195F Tender Pull |
| Classic Beef Burgers | Direct High Heat | 450F to 500F | 160F Juicy |
| Salmon Fillets on Cedar | Indirect Medium Heat | 350F to 400F | 145F Flaky |
Utilizing the Integrated Bowl Rim Lid Hook
The built-in lid hook is one of the most useful features on the classic kettle. When checking food, lift the lid straight up and angle it toward the bowl edge. Slide the curved interior bracket over the kettle rim to hang the lid securely.
Hanging the lid shields your cooking surface from brisk ambient backyard winds effectively. Furthermore, keeping the lid suspended protects porcelain enamel from cracking on hard stone patios. You handle grilling tongs, thermometers, and food platters with total confidence and safety.
Never lay a hot kettle lid flat on grass, outdoor carpeting, or wooden deck planks. High radiant heat can scorch lawns and melt synthetic outdoor rugs in seconds. Always utilize the engineered bowl hook to keep your outdoor workspace clean and organized.
Ash Removal and Routine Kettle Maintenance
Routine cleaning preserves smooth damper movement and protects internal metal grates from corrosive decay. In addition, clearing old ash promotes unrestricted oxygen circulation during future cookouts. Follow these straightforward maintenance practices after your cooker cools down completely.
First, wait several hours after cooking until charcoal embers extinguish and cool completely. Next, slide the bottom damper lever back and forth across the bowl base. The internal sweeping blades will push residual ash through bowl slots into the collection pan.
Unclip the aluminum ash catcher pan beneath the bowl and discard cooled debris safely. Always deposit ashes into a dedicated metal disposal bin with a tight-fitting lid. Never dump warm ashes into plastic garbage bags or dry garden compost piles.
Scrape the upper cooking grate using a stainless steel wire brush while still warm. Furthermore, wipe the exterior porcelain bowl and lid using mild dish soap and warm water. Routine exterior washing removes grease splatter and maintains deep gloss for decades.
Troubleshooting Common Charcoal Grilling Pitfalls
Backyard pitmasters occasionally face erratic temperature swings or stubborn fires during windy cookouts. Fortunately, understanding fundamental airflow dynamics helps you correct combustion issues quickly. Apply these practical solutions to maintain complete control over your kettle.
Correcting Rapid Heat Loss
A sudden temperature drop often stems from ash buildup clogging the lower intake vents. Specifically, powdery ash suffocates burning coals by preventing incoming oxygen from reaching the embers. Gently tap the bottom damper lever to clear loose ash into the lower pan.
In addition, check whether windy gusts are blowing through the open top damper. High winds create turbulent draft that can pull heat away from the cooking grate. Rotate the porcelain lid so exhaust vents face away from prevailing wind gusts.
Tackling Intense Grease Fires
Dripping fat from pork belly or burgers can ignite aggressive grease fires under grates. In particular, never spray water from a squirt bottle directly onto hot coals. Water blasts powdery ash upward onto meat and creates severe scalding steam bursts.
Instead, move threatened meats to the indirect side of the grate immediately using tongs. Next, close both top and bottom dampers completely for two minutes. Starving the fire of oxygen extinguishes flames smoothly, allowing you to resume grilling.
Conclusion
The classic twenty-two-inch charcoal cooker remains the gold standard of authentic backyard barbecue. By mastering chimney starting, dual-zone layouts, and damper ventilation, you produce extraordinary outdoor feasts. In addition, consistent cleaning and ash maintenance keep your kettle performing like new for generations.
Fire up your kettle this weekend and treat your family to unmatched smoky flavors. Invest in timeless charcoal grilling techniques and elevate your backyard barbecues today.
Frequently Asked Questions
How much charcoal should I put in the twenty-two-inch kettle?
You should use approximately seventy to eighty charcoal briquettes for standard cooking sessions.
Can I leave the kettle grill outside during winter?
Yes, porcelain-enameled steel withstands winter weather, but a protective cover extends grill life.
How do I extinguish burning charcoal after grilling?
Close both the top lid and bottom bowl dampers completely to suffocate the fire.
What is the purpose of the two-zone fire method?
A two-zone fire creates separate searing and gentle roasting areas for total cooking control.
How often should I clean the lower ash catcher?
You should empty the aluminum ash collection dish after every single charcoal cookout.