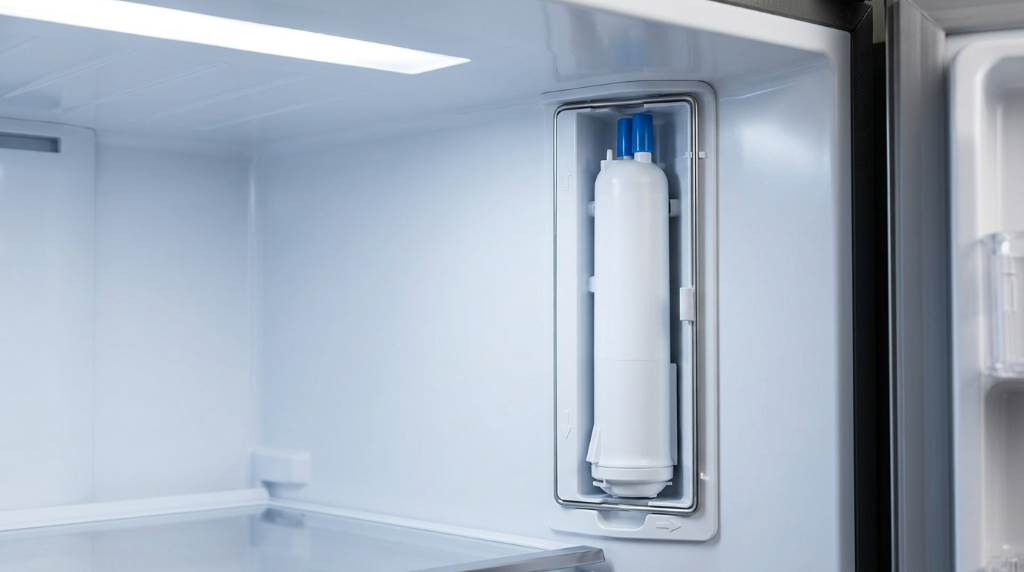
How to Replace Waterdrop ADQ747935 Water Filter

How to Use Sweetfull Coffee Mug Warmer: A Practical Guide
September 20, 2026
How to Use Weber Jumbo Joe Premium Grill
September 21, 2026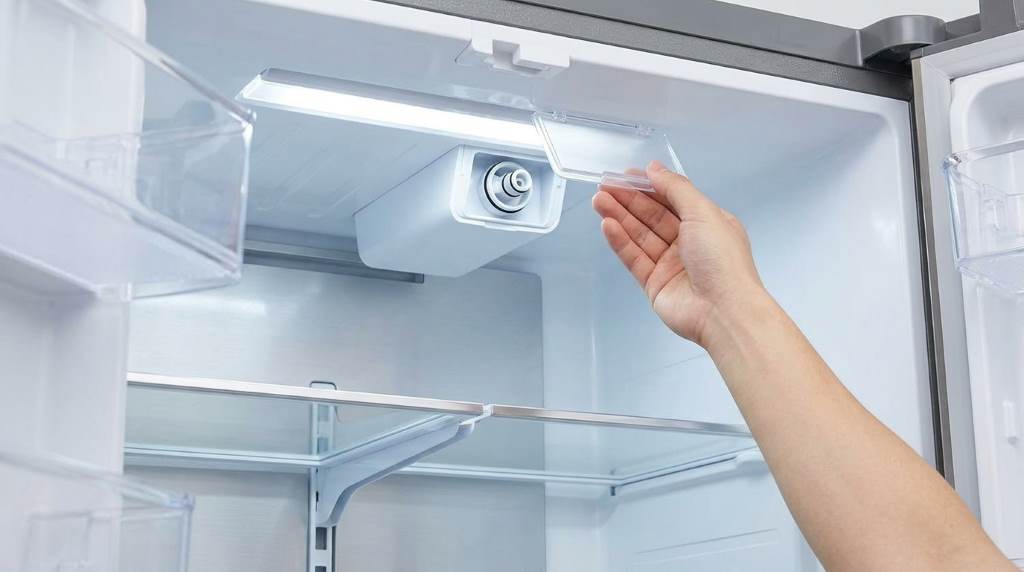
You replace the cartridge by turning off the water supply and opening the compartment door. Next, twist the old unit counterclockwise to remove it from the housing. Finally, push the replacement cartridge inward, turn it clockwise, and flush three gallons.
Modern studies show that certified carbon filters remove over 98 percent of tap contaminants. Furthermore, survey data reveals that 62 percent of households forget timely filter swaps. Installing a fresh Waterdrop ADQ747935 Refrigerator Water Filter guarantees safe drinking water for your family. Regular replacements protect refrigerator components from mineral buildup and ensure consistent water pressure.
This tutorial provides detailed guidance for cartridge installation, bleeding lines, and resetting sensors. In addition, you will discover troubleshooting tips to resolve unexpected leaks quickly. Follow these straightforward steps to restore crisp, odor-free drinking water today.
Key Takeaways
- Shut off your inline shutoff valve before removing the old filter.
- Depressurize the internal refrigerator line by running the door dispenser briefly.
- Twist the exhausted cartridge counterclockwise with steady pressure to release locking tabs.
- Align the new cartridge guide ridges before sliding it into the manifold.
- Flush at least three gallons of water to eliminate loose carbon particles.
- Hold the electronic indicator reset button for three seconds to restart tracking.
Understanding Filter Compatibility and Lifespan
The ADQ747935 specification fits numerous side-by-side and French door refrigerators effortlessly. For example, popular LG and Kenmore appliances use this specific cylindrical form factor. Furthermore, matching the locking tabs prevents costly damage to internal water manifold connections.
Manufacturers design high-grade activated carbon blocks from dense natural coconut shells. Specifically, these microscopic pores trap heavy metals, dissolved rust, and chlorine molecules. In addition, water tastes remarkably crisp because natural filtration preserves essential beneficial minerals.
Over time, trapped contaminants accumulate across the exterior membrane surfaces. Consequently, filtration capacity declines after six months or two hundred gallons of use. Therefore, replacing your filter on schedule prevents bacterial accumulation inside the dispenser lines.
Tools and Preparation for Smooth Installation
Proper preparation ensures a seamless filter exchange without messy kitchen spills. First, gather a dry microfiber towel and a small collection bowl. Additionally, placing the towel directly underneath the manifold catches residual trapped water droplets.
Next, clear upper refrigerator shelves to create comfortable working room. Furthermore, removing tall beverage containers prevents accidental tipping during the replacement process. Good lighting also helps you locate alignment markings along the receiver bay.
Inspect the new replacement filter packaging before opening the sealed plastic wrapper. In fact, checking the rubber O-rings ensures an airtight seal against pressure spikes. Subsequently, lubricating these seals with clean water prevents friction during initial docking.
Step-by-Step Filter Replacement Instructions
Replacing the cartridge requires no specialized plumbing tools or technical trade skills. However, following the correct sequence prevents cracked manifold clips and sudden leaks. Take your time to complete each procedural phase deliberately.
Step 1: Relieving Line Pressure
Locate the main shutoff valve behind the refrigerator cabinet or under sink. Turn the valve knob clockwise until the water flow halts completely. This simple precaution stops pressurized surges while you disengage the cartridge.
Next, press the front door dispenser lever with a large drinking cup. Dispense any remaining water until the stream trickles down to nothing. As a result, internal pressure drops and makes cartridge removal much easier.
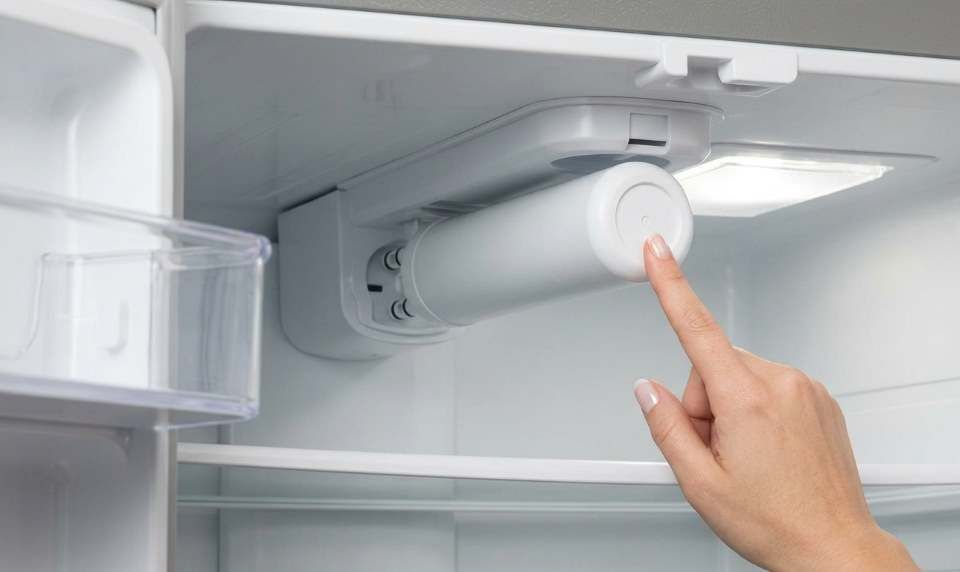
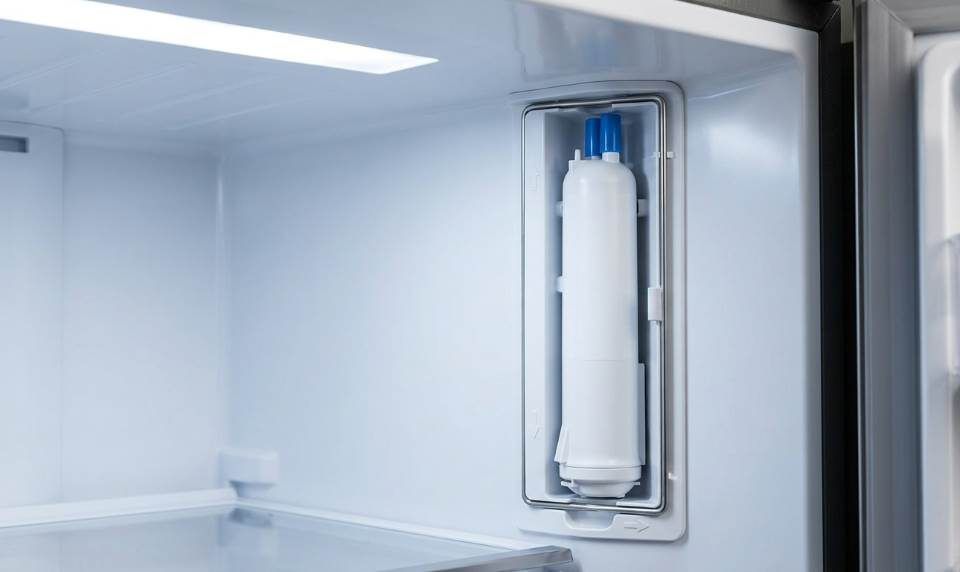
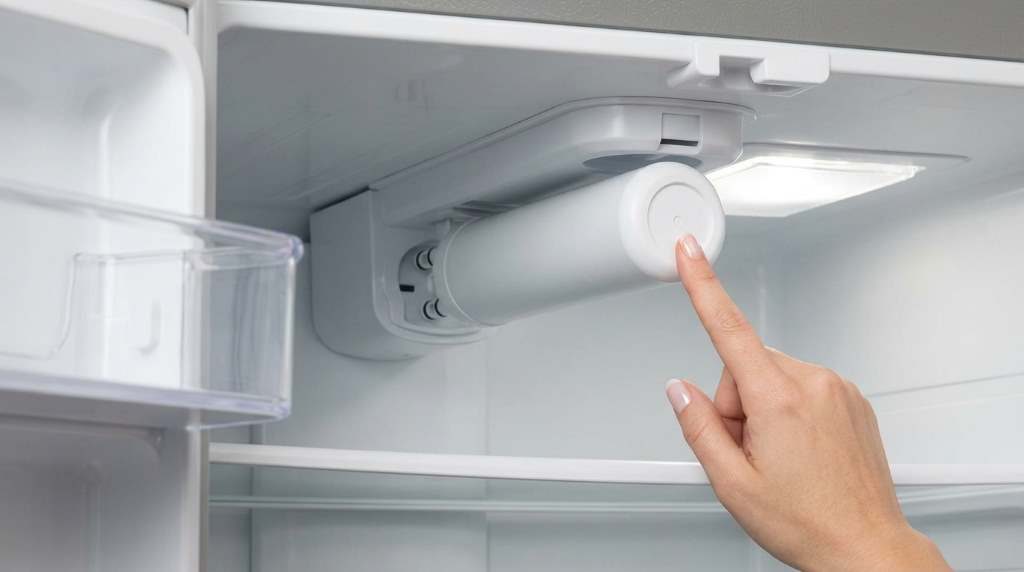
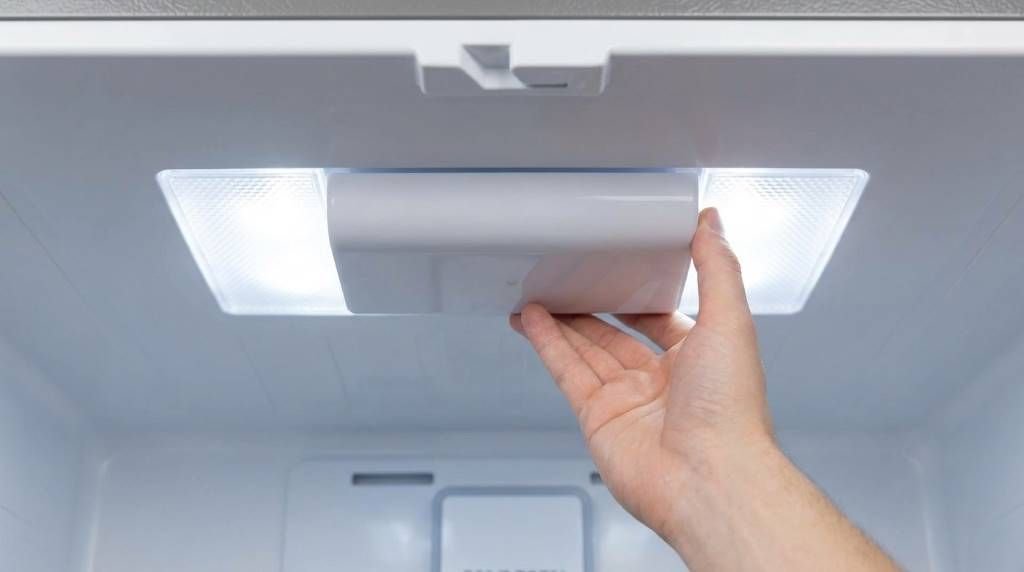
Open the refrigerator door and locate the internal filter housing compartment. Typically, manufacturers position this chamber in the upper right interior corner. Press the plastic release tab gently to swing open the protective cover.
Step 2: Removing the Depleted Filter Cartridge
Grip the body of the exhausted filter cartridge firmly with one hand. Turn the cartridge counterclockwise approximately one quarter turn until it stops. You will feel the internal locking lugs disengage from the receiver dock.
Pull the cartridge straight out toward you with gentle, steady force. A few stray water droplets may escape from the port during extraction. Catch these drops with your prepared microfiber towel to keep shelves dry.
Inspect the interior receiver manifold closely for any dislodged rubber gaskets. Occasionally, an old O-ring sticks inside the receiver port during removal. Clearing debris guarantees that your new unit seats firmly without binding.
Step 3: Preparing and Installing the Fresh Filter
Unpack your replacement filter and remove the protective sanitary dust cap. Next, examine the dual silicone O-rings to ensure proper placement in channels. Moisten both rings with clean drinking water to facilitate effortless insertion.
Align the molded guide tabs on the cartridge with the manifold slots. Push the cartridge straight into the dock receiver until it stops firmly. Avoid forcing the cartridge if alignment feels crooked or unusually tight.
Rotate the cartridge clockwise one quarter turn until the lock clicks. The external label markings should face directly outward when properly locked. Close the plastic housing compartment door until the latch clicks shut securely.
Flushing the System and Purging Air Pockets
Never drink the initial glass of water from a newly installed filter. In fact, fresh carbon blocks contain dry air pockets and harmless carbon fines. Flushing the system purges these loose particles and activates the media.
First, turn the external water supply valve counterclockwise to restore pressure. Inspect the filter bay area immediately for any visible signs of moisture. If drops appear, turn off the water and reseat the cartridge.
Next, place a large pitcher under the door dispenser nozzle. Press and release the dispenser lever in thirty-second intervals continuously. Running the dispenser in cycles prevents the solenoid valve from overheating prematurely.
Expect occasional sputtering and dark water during the first two quarts. This reaction occurs naturally as incoming water pushes trapped air through pores. Continue dispensing until you collect approximately three full gallons of crystal-clear water.
Resetting the Filter Indicator Light
Modern refrigerators track filter usage through programmed timers or flow meters. However, the appliance cannot automatically sense when you insert a new filter. Therefore, you must manually reset the indicator light after every swap.
Locate the water filter reset button on your electronic control panel. On most appliances, this button shares space with the ice maker control. Press and hold the designated button continuously for three to five seconds.
Listen for an audible confirmation beep from the electronic control board. The indicator light will change color from bright red back to blue. This action resets the internal countdown clock for another six months.
Performance Specifications and Contaminant Removal
High-grade replacement filters deliver exceptional filtration metrics comparable to factory originals. Reviewing technical specifications helps homeowners verify third-party certification and flow efficiency. The table below outlines standard performance benchmarks for certified filters.
| Metric Category | Performance Standard | Target Threshold | Consumer Benefit |
|---|---|---|---|
| Micron Rating | 0.5 Micron Filtration | 99.2 Percent Capture | Removes sediment and rust |
| Chlorine Reduction | NSF 42 Certified | 97.5 Percent Removal | Eliminates bad taste and odors |
| Lead Reduction | NSF 53 Certified | 99.0 Percent Removal | Protects health from heavy metals |
| Operational Lifespan | 200 Gallons / 6 Months | Consistent Flow Rate | Prevents premature valve wear |
| Working Pressure | 30 to 120 PSI | Optimal 60 PSI | Prevents dispenser line bursts |
Troubleshooting Common Post-Installation Issues
Homeowners occasionally encounter minor mechanical issues after changing a filter cartridge. Fortunately, simple adjustments solve the vast majority of dispenser problems rapidly. Therefore, understanding common symptoms helps you resolve issues without calling a technician.
Fixing Slow Water Flow
A sudden drop in water volume usually indicates trapped air bubbles. Alternatively, an incompletely opened supply valve restricts incoming line pressure significantly. Specifically, verify that your under-sink shutoff valve sits in the fully open position.
Next, dispense another gallon of water to clear stubborn air locks. Trapped air often creates artificial resistance inside the dense carbon matrix. Consequently, sustained flow clears the micro-channels and restores full dispenser velocity.
Eliminating Vibrating Noises and Chattering Pipes
Rapid chattering sounds during dispensing indicate loose air pockets in lines. Furthermore, high municipal water pressure causes internal line vibration against cabinet walls. In addition, you can bleed the air by cycling the dispenser lever repeatedly.
If pipe shuddering continues, check the main household pressure regulator. Pressures above eighty PSI create turbulent flow through refrigerator valves. Ultimately, adjusting your home pressure protects appliances and eliminates annoying pipe rattles.
Resolving Stubborn Leaks at the Connection Port
Water pooling beneath the filter bay points toward damaged O-ring seals. First, shut off the water and remove the cartridge for inspection. Next, check whether either rubber ring tore or rolled out of groove.
Wipe the manifold receiver dry using a clean lint-free cloth. Subsequently, re-lubricate the seals with water and push the unit in firmly. Ensure the locking tabs turn fully until the alignment marks match.
Long-Term Maintenance and Refrigerator Care
Consistent filter maintenance safeguards your expensive refrigerator ice maker assembly. In contrast, running expired filters forces the internal water pump to strain. Consequently, mineral scale can accumulate inside solenoids and cause premature electrical failure.
Always keep a spare replacement cartridge in your kitchen pantry. Furthermore, storing cartridges in a cool, dry area protects carbon from humidity. Having a backup ready prevents unwanted delays when the indicator turns red.
In addition, sanitize the exterior dispenser nozzle every month using vinegar. For example, mineral deposits often collect along the rim where cold water exits. Clean nozzles preserve purity and ensure pleasant tasting water every day.
Conclusion
Replacing your refrigerator water filter represents an easy and essential home improvement. By following proper depressurization, alignment, and flushing steps, you guarantee pristine water. Furthermore, routine swaps preserve appliance longevity and protect your household health.
Take charge of your drinking water quality by installing a replacement today. Order a certified filter and restore crisp, delicious refreshment to your kitchen.
Frequently Asked Questions
Why does water look cloudy after installing a new filter?
Cloudy water results from harmless microscopic air bubbles escaping fresh carbon pores.
How often must I replace the refrigerator water filter cartridge?
You should replace your filter cartridge every six months or two hundred gallons.
Can I install the new filter without shutting off the water?
Most modern manifolds have auto-shutoff valves, but turning off water prevents accidental leaks.
What happens if I forget to reset the filter light?
The indicator light remains red and cannot track your next six-month replacement cycle.
How much water should I discard during the initial flush?
You should flush approximately three gallons of water to clear all loose carbon.