How to Use Kitchekshop Coffee Warmer

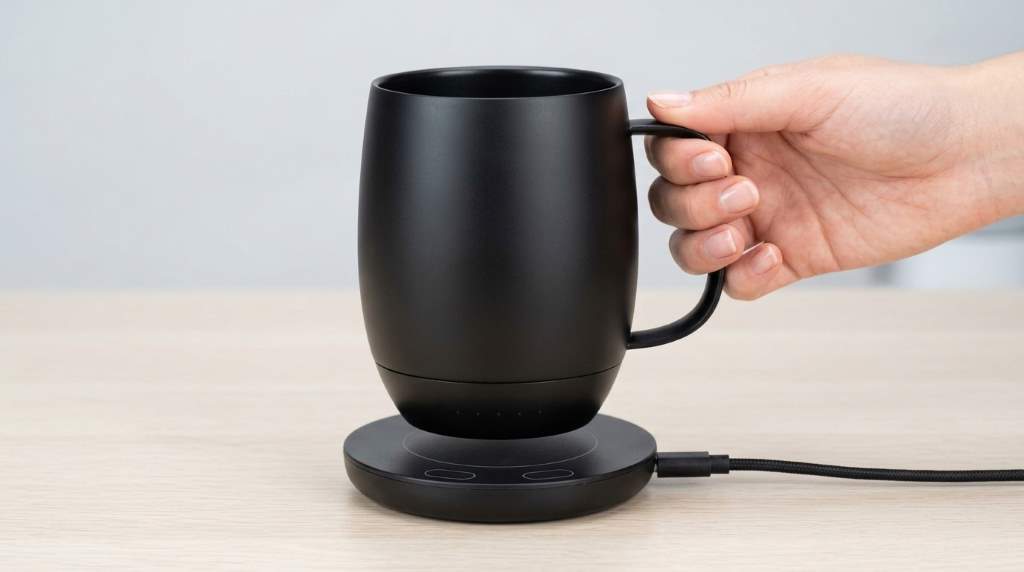
How to Use Kepwam Self Heating Coffee Mug T2?
September 20, 2026
How to Use Lifewit 100L Laundry Basket: Complete Guide
September 20, 2026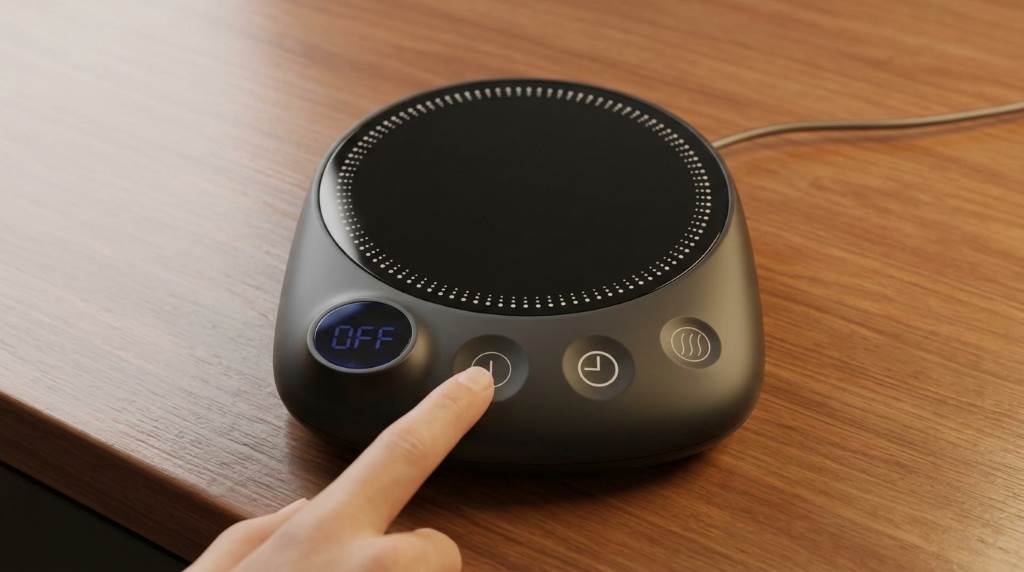
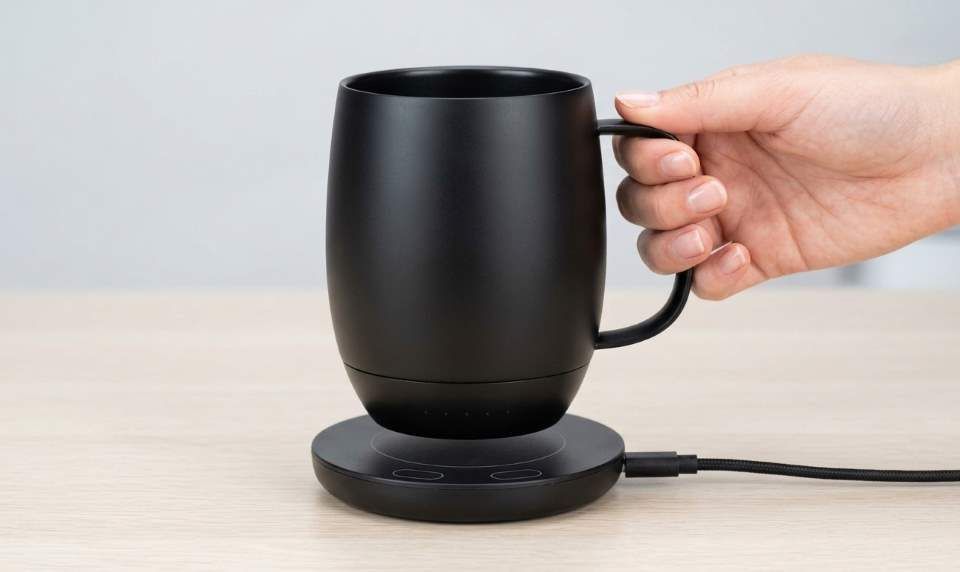
To use a Kitchekshop Coffee Warmer, place your mug on the warming surface and switch the unit on. Keep the mug centered, use a compatible heat resistant cup, and turn the warmer off after your drink reaches your preferred temperature. A Kitchekshop Coffee Warmer works best when you follow its operating and safety instructions carefully. Coffee typically tastes best within a limited temperature range, while reheating can affect flavor. Therefore, a warmer helps maintain heat rather than repeatedly reheating your drink.
Modern coffee warmers also suit desks, home offices, study spaces, and kitchen counters. However, correct placement and mug selection matter more than simply switching the device on. This guide explains setup, daily use, temperature control, cleaning, troubleshooting, and safe storage.
Key Takeaways
- Place the warmer on a stable, dry, heat resistant surface.
- Center your mug directly over the heating area.
- Use a flat bottom mug that sits securely on the warmer.
- Keep liquids away from electrical connections and controls.
- Clean spills promptly after switching the warmer off.
- Do not leave the appliance operating unattended for long periods.
Understand How the Coffee Warmer Works
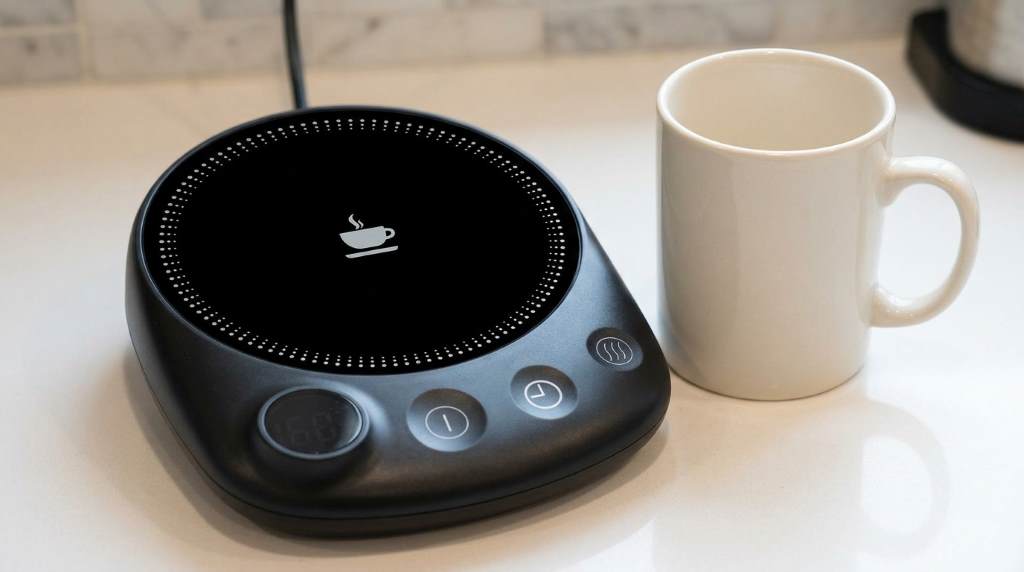
A coffee warmer transfers gentle heat through its warming surface into the base of your mug. Instead of rapidly heating cold coffee, it helps slow the drink’s natural cooling process. Consequently, the device works best with freshly poured coffee that remains reasonably warm.
The heating element sits beneath the warming surface, while the outer housing protects the electrical components. When powered, the element produces controlled heat across the contact area. Therefore, keeping the mug base flat and centered helps maintain consistent contact.
What the Warmer Can and Cannot Do
A coffee warmer primarily maintains beverage warmth rather than functioning like a kettle. It may gradually warm a drink, but results depend on the mug material, beverage volume, and starting temperature.
For that reason, avoid expecting refrigerator cold coffee to become piping hot quickly. Instead, pour a fresh drink into a suitable mug and use the warmer to maintain its temperature.
Prepare the Warmer Before First Use
Before connecting the warmer, inspect the appliance for visible damage, loose parts, or damaged wiring. Also check the power cord, plug, heating surface, and surrounding housing.
Next, place the warmer on a level, dry, heat resistant surface near a suitable electrical outlet. Keep enough space around the appliance for ventilation and comfortable access.
Choose the Right Mug
Your mug strongly affects how efficiently the warmer transfers heat. A flat bottom creates better contact than a rounded or heavily textured base.
Ceramic mugs generally work well because they provide a stable base and hold heat reasonably well. Avoid unstable cups, cracked mugs, and containers that can easily tip.
- Choose a flat and stable mug base.
- Avoid damaged or cracked containers.
- Keep the mug size compatible with the warming surface.
- Do not use containers that wobble when placed down.
How to Use the Coffee Warmer Step by Step
Using the warmer requires only a few straightforward steps. Still, following the correct sequence reduces spills and helps the appliance perform consistently.
Step 1: Place the Warmer Correctly
Set the warmer on a stable, dry, level surface before connecting the power cord. Keep it away from sinks, dripping faucets, wet countertops, and other moisture sources.
Then position the appliance where you can easily reach its controls without moving the mug. This arrangement also reduces accidental knocks during regular use.
Step 2: Connect the Power
Plug the warmer into a suitable electrical outlet according to its operating instructions. Avoid using damaged cords, loose outlets, or unsuitable electrical accessories.
After connecting power, check whether the warmer shows an indicator light or other operating signal. If nothing happens, check the connection before placing a drink on the surface.
Step 3: Add Your Coffee
Pour your coffee into a suitable mug before placing it on the warming surface. Leave enough room inside the mug to prevent accidental overflow.
Next, place the mug carefully in the center of the warming area. Centering improves contact and reduces the chance of tipping the cup.
Step 4: Activate the Warmer
Switch the warmer on using its power control or operating button. If your model includes temperature settings, start with a moderate setting.
Allow the coffee to warm gradually rather than repeatedly changing settings. This approach gives you better control and helps prevent excessive heating.
Step 5: Monitor Your Drink
Check the coffee periodically while using the warmer. Stirring gently can distribute heat throughout the beverage when appropriate.
However, avoid touching the warming surface directly because it can become hot during operation. Always handle the mug by its safe gripping area.
Step 6: Switch It Off After Use
Turn the warmer off when you finish drinking or no longer need the heat. Then disconnect the power when the appliance has cooled sufficiently.
Finally, inspect the surface for spills and clean it according to the manufacturer’s care instructions. Proper shutdown prevents unnecessary operation and keeps your workspace safer.
How to Keep Coffee Warm Without Ruining Flavor
A warmer can preserve coffee temperature, but excessive heat can change the drink’s taste. Therefore, aim for steady warmth instead of maximum heat whenever your model allows temperature adjustment.
Fresh coffee also performs better than coffee that has already cooled completely. Pouring a fresh serving into the mug gives the warmer less work and usually produces a better drinking experience.
Use Smaller Servings
Large volumes often cool differently from smaller servings because the mug and surrounding air affect heat loss. Smaller servings can also provide more consistent temperature control during extended work sessions.
Consequently, pour only the amount you expect to drink within a reasonable period. Refill the mug with fresh coffee when necessary instead of keeping one serving warm indefinitely.
Common Mistakes to Avoid
Most coffee warmer problems come from simple usage mistakes rather than complicated electrical faults. Fortunately, you can prevent many issues through careful placement and regular cleaning.
- Do not place the warmer on a wet surface.
- Do not cover the appliance while it operates.
- Do not overload the warming surface with heavy objects.
- Do not place paper, cloth, or other flammable materials underneath it.
- Do not immerse the appliance or power cord in water.
- Do not continue using the unit after visible electrical damage.
- Do not leave spilled coffee sitting around controls or electrical connections.
Cleaning and Maintaining the Warmer
Always switch the warmer off and disconnect power before cleaning it. Allow the heating surface to cool completely before wiping away coffee residue.
Use a soft, slightly damp cloth for routine surface cleaning unless the manufacturer’s instructions specify another method. Avoid abrasive cleaners that can scratch the surface or damage its finish.
Handle Coffee Spills Quickly
Spilled coffee can leave sticky residue around the warming surface and controls. Therefore, wipe spills promptly after disconnecting the appliance and allowing it to cool.
Never pour cleaning liquid directly onto the warmer. Instead, dampen the cloth lightly and clean the surface with controlled movements.
Troubleshoot Common Problems
| Problem | Possible Cause | What to Do |
|---|---|---|
| Warmer does not turn on | Power connection issue | Check the plug, outlet, and power control. |
| Coffee stays cool | Poor mug contact | Center a flat bottom mug on the warming area. |
| Surface feels unusually hot | Normal heating behavior or setting | Reduce the setting if adjustable and follow the manual. |
| Indicator does not illuminate | Power or indicator fault | Disconnect the unit and inspect the connection safely. |
| Surface has sticky residue | Dried coffee spill | Cool the warmer and wipe it with a soft damp cloth. |
When to Stop Using the Warmer
Stop using the appliance if you notice exposed wiring, a damaged plug, burning odors, smoke, or unusual electrical behavior. Disconnect power safely and avoid attempting electrical repairs yourself.
Similarly, stop operation if the housing becomes damaged or the appliance behaves differently from its normal operation. Follow the manufacturer’s support and safety guidance before using it again.
Improve Your Daily Coffee Routine
Place the warmer close enough to reach comfortably but away from crowded workspace areas. This simple setup reduces accidental knocks while keeping your coffee within easy reach.
Next, use a dedicated mug with a stable base and comfortable handle. Keeping the same suitable mug nearby makes daily setup faster and more predictable.
For longer work sessions, check your coffee periodically instead of leaving it unattended for hours. This habit helps you control flavor, temperature, and appliance use more effectively.
Safety Practices for Everyday Use
Electrical appliances require extra care around liquids, even when their design supports beverage warming. Keep the power connection dry and position the cord where people cannot easily pull it.
Furthermore, keep children and pets away from the active warming surface. Never place your hand directly on the heating area to test its temperature.
Always follow the specific operating instructions supplied with your Kitchekshop model. Product controls and safety features can vary between versions, so the model instructions take priority.
Frequently Asked Questions
Can you leave coffee on a Kitchekshop Coffee Warmer?
You can use the warmer during normal operation, but switch it off when you finish and avoid prolonged unattended use.
What type of mug works best?
A flat bottom, stable mug that sits securely across the warming surface generally provides better heat contact.
Can the warmer heat cold coffee?
It may warm coffee gradually, but coffee warmers primarily maintain warmth rather than rapidly heating cold beverages.
How should you clean the warmer?
Disconnect power, let the surface cool, then wipe it gently with a soft damp cloth.
Why does my coffee still cool down?
Mug material, surface contact, beverage volume, room temperature, and the warmer’s heat output can all affect cooling.
Final Thoughts
Learning how to use a Kitchekshop Coffee Warmer takes only a few simple habits. Use a stable mug, center it properly, control the heat sensibly, and keep the appliance dry.
Most importantly, treat the warmer as a temperature maintenance tool rather than a rapid heating appliance. Follow the model’s instructions, clean spills promptly, and switch the unit off after use.
Set up your warmer correctly today, then build these simple steps into your daily coffee routine. A careful setup can make warm coffee more convenient without adding unnecessary complexity.