Why Is Flow Slow After Changing Everydrop EDR4RXD1 Filter?

How to Flush an Everydrop EDR2RXD1 Water Filter Properly
August 12, 2026
How to Fix a Noisy Firegas 30-Inch Under Cabinet Range Hood
August 12, 2026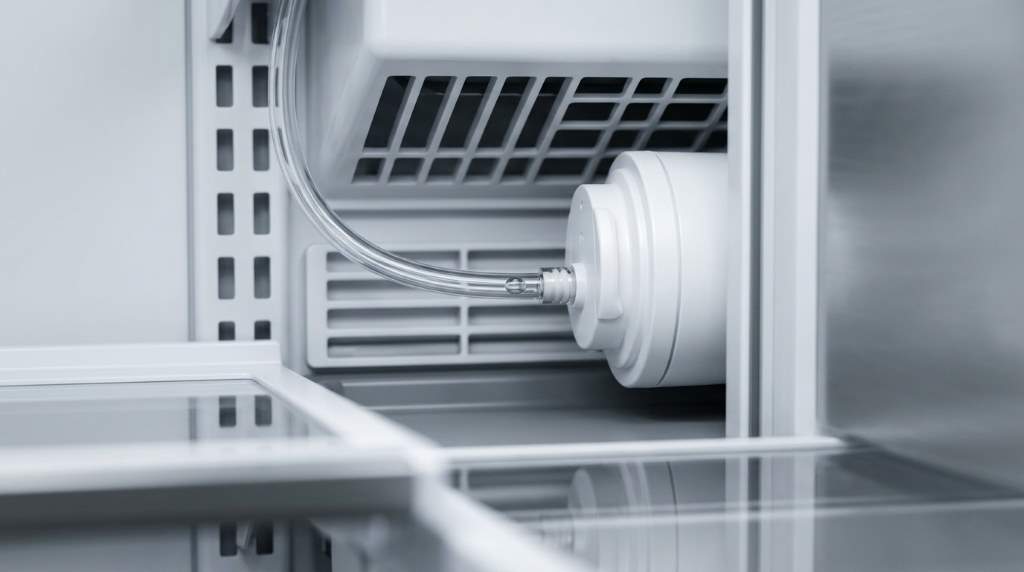
Slow water flow after installing an Everydrop EDR4RXD1 refrigerator filter usually comes from trapped air, improper seating, or an installation issue. In most cases, you can restore normal flow by reseating the filter and purging the water line correctly. The EDR4RXD1 can reduce 32 potentially harmful contaminants, including certain heavy metals and pesticides. It also carries certification for reducing 99% of microplastics under specified testing conditions.
Why Does Water Flow Slow After Filter Replacement?
A new refrigerator filter can temporarily restrict flow while water moves through fresh filtration media. However, noticeably weak flow often points to air, poor installation, or another restriction. The problem rarely means the refrigerator suddenly developed a major fault. Instead, the recent filter change provides an important clue about where to start.
Everydrop recommends purging air after replacing its refrigerator filters. The process helps remove trapped air that can interrupt steady dispenser operation. Therefore, proper flushing should always become the first troubleshooting step after installation.
1. Trapped Air Can Reduce Water Flow
Air can enter the water system when you remove the old filter. That air can remain inside the cartridge, housing, or connected water line. Consequently, the dispenser may sputter, pulse, or produce a weak stream.
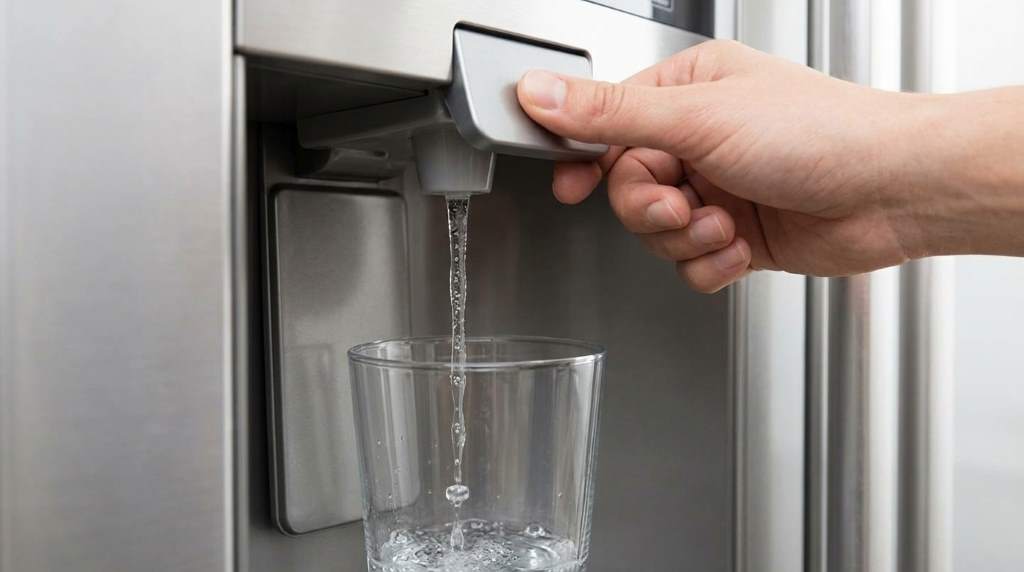
This condition often improves after repeated dispensing cycles. Everydrop recommends holding the dispenser for five seconds, then releasing it for five seconds. Continue those cycles until water flows steadily, then continue for about two additional minutes.
How to Purge Air From the System
- Place a large container beneath the refrigerator dispenser.
- Press and hold the dispenser for five seconds.
- Release the dispenser for five seconds.
- Repeat those cycles until the stream becomes steady.
- Continue dispensing for approximately two additional minutes.
- Check the stream again after the system rests briefly.
Do not judge the filter immediately after one short dispensing cycle. A newly installed cartridge may need several cycles before the flow stabilizes. If the stream remains weak, continue with the installation checks below.
2. The Filter May Not Sit Correctly
A filter can appear installed while the cartridge remains slightly misaligned. That small positioning problem can interfere with the refrigerator water path. As a result, the dispenser may deliver less water than expected.
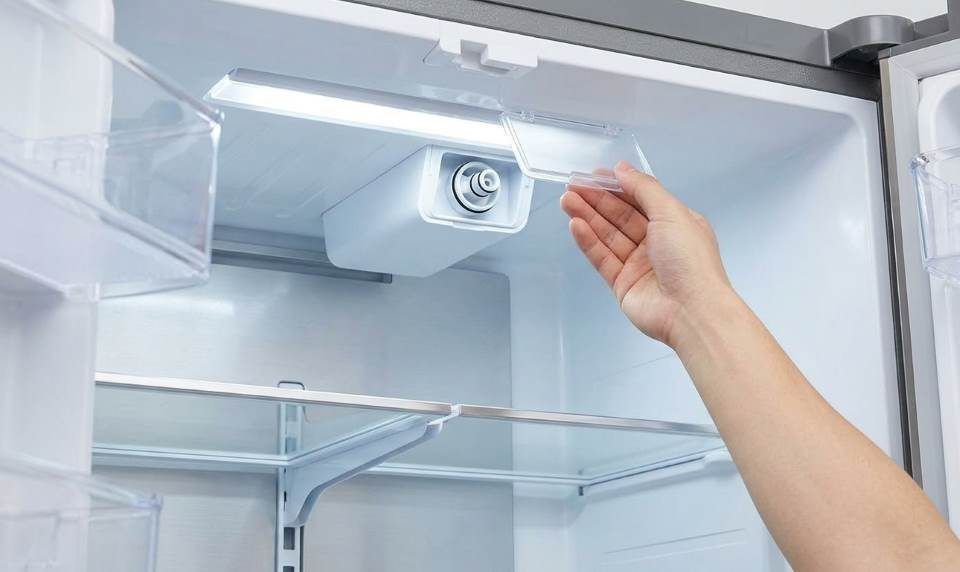
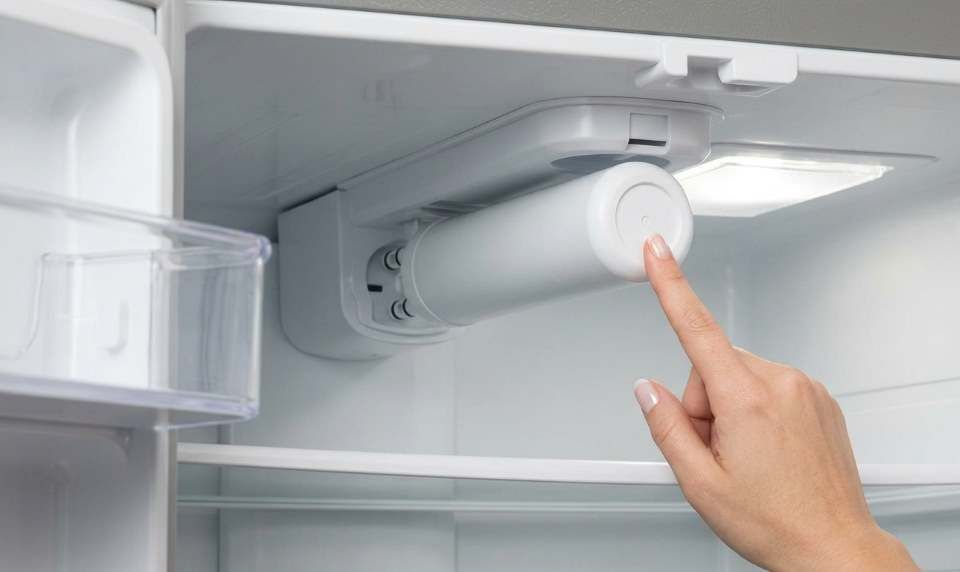
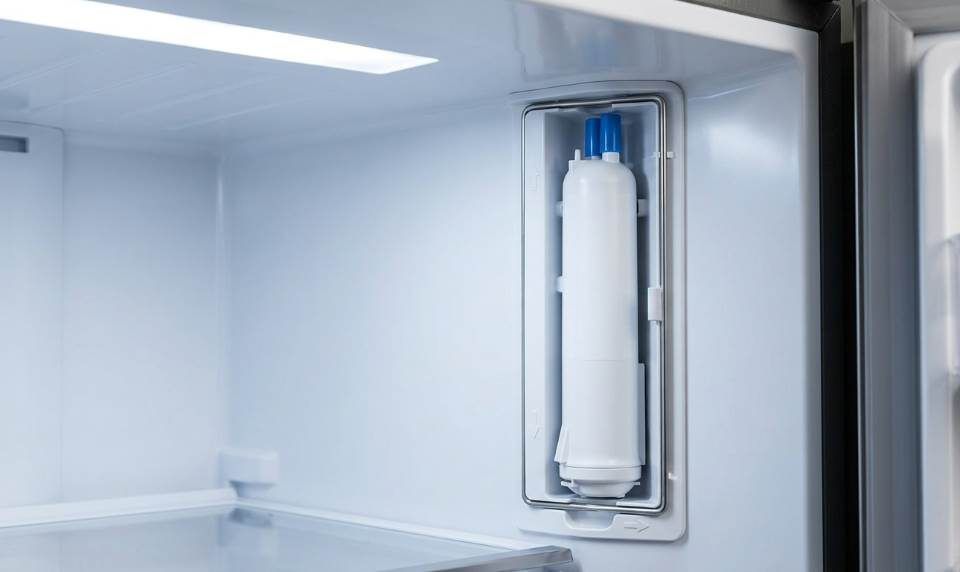
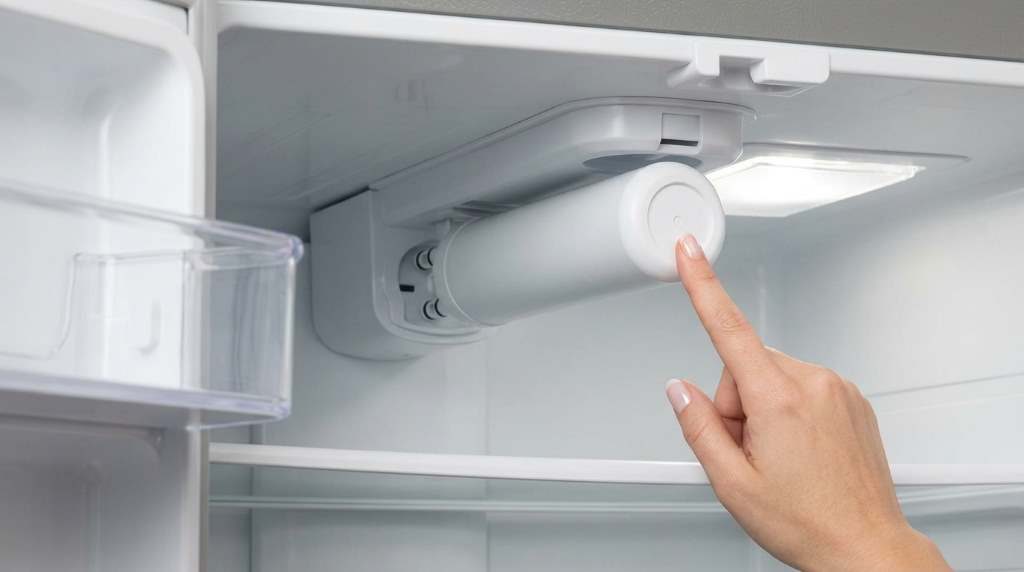
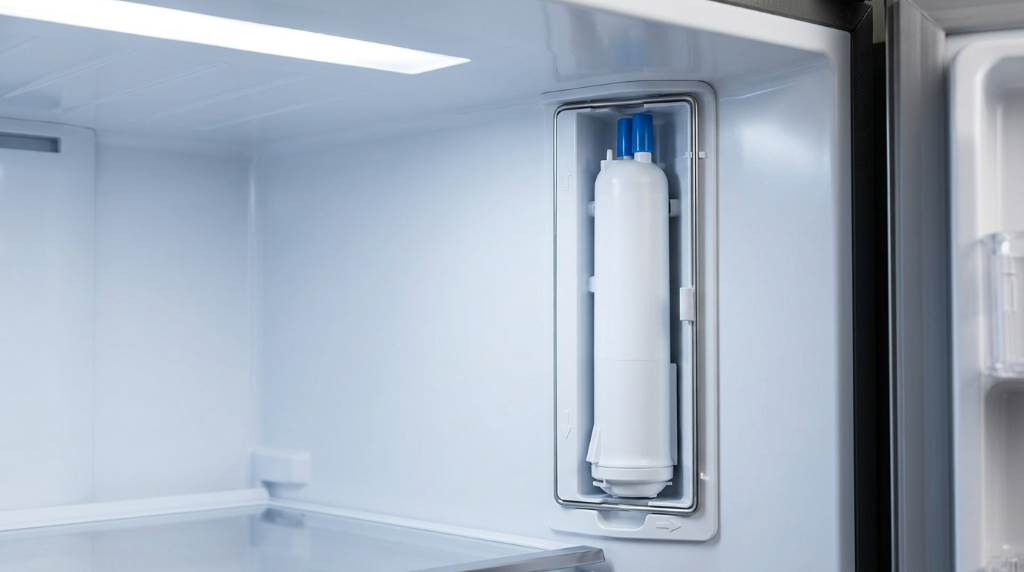
Remove the filter and inspect its connection points carefully. Then reinstall it according to your refrigerator’s specific filter mechanism. Make sure the cartridge reaches its proper locked position without forcing it.
Check the Filter Seating
- Turn off dispensing before removing the cartridge.
- Remove the filter using the refrigerator’s normal release method.
- Inspect the cartridge for visible damage or distortion.
- Check that all packaging and sealing material has been removed.
- Reinstall the filter until the locking mechanism engages properly.
- Gently test the filter for secure seating.
Never force a cartridge into place when the alignment feels wrong. Forced installation can damage the housing or create a poor connection. Instead, remove the filter and repeat the installation with careful alignment.
3. Packaging Material May Still Cover the Filter
New filters often arrive with protective material covering important cartridge surfaces. Leaving that material in place can interfere with water movement. Therefore, inspect the entire filter before installation.
Check for protective caps, sealing labels, or other shipping materials. Remove every piece that the installation instructions identify as removable. Then reinstall the cartridge and purge the water line again.
This simple mistake can create symptoms that look like a defective filter. However, the cartridge may work normally once the protective material disappears. Always inspect the new filter before assuming a refrigerator component failed.
4. The Wrong Filter Can Restrict Flow
Everydrop offers several refrigerator filter models with different shapes and compatibility requirements. A filter that looks similar may not match your refrigerator’s water system. Using the wrong model can create installation and flow problems.
Verify the refrigerator model before replacing the cartridge again. You should also compare the filter number with the previous cartridge. Everydrop provides a filter finder that matches compatible filters with refrigerator models.
Confirm These Details
- Check the refrigerator model number.
- Confirm the installed cartridge says EDR4RXD1.
- Compare the cartridge shape with the previous filter.
- Verify that the filter locks into the housing correctly.
- Check that the refrigerator supports the EDR4RXD1 model.
If the old filter restored normal flow, compare both cartridges carefully. A compatibility mismatch becomes more likely when everything else appears correct. Avoid modifying the cartridge to make it fit the refrigerator.
5. The New Filter Can Have Higher Initial Resistance
Fresh filtration media can create more resistance before water fully saturates the cartridge. That resistance can make the initial stream appear weaker than expected. Usually, proper flushing helps stabilize the flow.
The EDR4RXD1 uses a multi stage filtration design with an activated carbon core. The cartridge filters particles before targeted filtration processes reduce selected contaminants. Therefore, adequate water pressure remains important for consistent dispenser performance.
Do not confuse temporary startup behavior with a permanent restriction. Test the flow again after completing the recommended purge procedure. If performance remains poor, investigate the refrigerator and water supply.
6. Low Household Water Pressure Can Affect Flow
The filter cannot create pressure that the refrigerator does not receive. Low incoming pressure can therefore produce weak dispenser flow after any filter replacement. The new cartridge may simply make an existing pressure problem more noticeable.
Check whether other water fixtures also show reduced pressure. If multiple fixtures perform poorly, the issue may involve the household water supply. However, normal faucet pressure with weak refrigerator flow points toward the refrigerator system.
Simple Pressure Clues
- Check the kitchen faucet before testing the refrigerator.
- Compare cold water flow with refrigerator dispenser flow.
- Ask whether other household fixtures also have weak pressure.
- Check the refrigerator water supply valve if accessible.
- Look for recent plumbing work or supply interruptions.
Do not immediately blame the filter when household pressure also seems weak. A supply problem can affect the refrigerator regardless of cartridge condition. Correcting the upstream issue may restore normal dispenser performance.
7. The Water Supply Valve May Not Open Fully
Many refrigerators connect to a dedicated water supply valve behind or near the appliance. That valve must provide adequate water flow for the dispenser. A partially closed valve can cause slow dispensing after filter replacement.
Check the valve carefully if you can access it safely. Make sure it sits in the fully open operating position. Avoid forcing a stiff valve because damaged plumbing connections can cause leaks.
If the valve looks normal, inspect the connected tubing for obvious kinks. A pinched tube can restrict water before it reaches the filter. Straightening an accessible kink may improve flow immediately.
8. A Kinked Water Line Can Restrict the Dispenser
Refrigerators sometimes sit close enough to walls or cabinets to compress their water tubing. Moving the appliance can also bend the line unexpectedly. Consequently, water may reach the filter with insufficient volume.
Look behind the refrigerator for sharply bent tubing. Check areas where the appliance contacts the wall or cabinet. If the tubing appears compressed, restore a gentle routing path without pulling connections.
After correcting the line, test the dispenser again. Allow several seconds for the system to stabilize. If flow improves substantially, the tubing restriction likely caused the problem.
9. A Clogged Water Line Can Mimic a Bad Filter
Mineral deposits and debris can restrict older refrigerator water lines. Sediment can also affect small passages around valves and connections. A new filter cannot correct a blockage located elsewhere in the system.
This possibility becomes stronger when flow remains weak with more than one filter. It also matters when the refrigerator previously showed declining dispenser performance. In that situation, investigate the water path instead of repeatedly replacing filters.
Never insert sharp objects into refrigerator water connections to remove debris. Such attempts can damage seals and create leaks. Use the refrigerator’s service procedure or qualified appliance assistance when internal blockage seems likely.
10. The Refrigerator Water Inlet Valve May Need Attention
The inlet valve controls water entering the refrigerator. If the valve develops a restriction, the dispenser can receive insufficient water. Filter replacement may expose this issue because the new cartridge changes system resistance.
A failing inlet valve often produces consistently weak flow. Other symptoms can include slow ice production or unusual filling behavior. However, these symptoms can have several causes, so avoid replacing the valve without proper testing.
When to Suspect the Inlet Valve
- The filter fits correctly but flow remains consistently weak.
- Purging air produces little improvement.
- The household water supply has normal pressure.
- The water line shows no obvious kink.
- Ice production also appears unusually slow.
At this stage, professional diagnosis can save time and prevent unnecessary parts replacement. A technician can test pressure and valve operation directly. That approach provides better evidence than replacing several components by trial and error.
11. Compare Flow Before and After the Filter
A useful troubleshooting method involves isolating where the restriction occurs. However, refrigerator water systems vary, so avoid disconnecting pressurized lines without proper instructions.
Instead, compare dispenser behavior before and after each troubleshooting step. Record whether the stream becomes stronger after purging, reseating, or correcting the supply line. This simple process helps identify the most likely cause.
| Symptom | Likely Cause | First Action |
|---|---|---|
| Sputtering water | Trapped air | Purge the water line |
| Weak flow immediately after replacement | Filter seating issue | Remove and reinstall the filter |
| Weak flow with several filters | Supply restriction | Check pressure and tubing |
| Slow water and ice production | Possible valve or supply problem | Inspect the water supply |
| No improvement after purging | Possible blockage or component issue | Arrange further diagnosis |
How Long Should You Flush a New EDR4RXD1 Filter?
The correct flushing process depends on your refrigerator’s instructions and filter system. Everydrop recommends repeated five second dispensing cycles after replacement. Once water flows steadily, continue dispensing for about two additional minutes.
Do not rely only on a fixed number of gallons unless your specific instructions require it. Different refrigerator configurations can use different flushing procedures. Following the refrigerator manufacturer’s instructions provides the safest approach.
What If the EDR4RXD1 Still Has Slow Flow?
Start by removing and reinstalling the cartridge carefully. Then purge trapped air and check the water supply valve and tubing. Afterward, test the dispenser again before investigating internal components.
If the flow remains weak, test another compatible filter when available. A second cartridge can help distinguish installation problems from an individual cartridge issue. Avoid using an incompatible cartridge simply to compare performance.
If multiple compatible filters produce weak flow, focus on the refrigerator system. Water pressure, tubing, inlet valves, and internal restrictions become more likely causes. Professional service becomes sensible when basic checks cannot identify the restriction.
How to Prevent Slow Flow After Future Filter Changes
A consistent replacement routine can prevent most avoidable flow problems. Keep the refrigerator manual nearby and follow the filter installation sequence exactly. Also, avoid rushing the purge process immediately after installing a cartridge.
- Verify the filter model before installation.
- Remove every protective piece from the new cartridge.
- Install the cartridge without forcing the connection.
- Confirm that the filter locks securely.
- Purge air using repeated five second cycles.
- Continue dispensing after steady flow returns.
- Watch for leaks around the filter housing.
- Replace the filter according to the recommended schedule.
Everydrop recommends replacing refrigerator filters about every six months. Usage and water quality can require more frequent replacement. Keeping replacement filters available also reduces the temptation to delay routine maintenance.
When Should You Stop Troubleshooting?
Stop troubleshooting when the filter housing leaks, the water line appears damaged, or internal components seem faulty. Continuing to experiment can turn a minor flow issue into water damage.
Professional help makes sense when several compatible filters show identical poor performance. It also helps when household pressure remains normal but refrigerator flow stays weak. A qualified technician can test the system without unnecessary part replacement.
Final Takeaway
Slow flow after changing an EDR4RXD1 filter usually starts with trapped air or an installation problem. Purge the water line, reseat the filter, confirm compatibility, and inspect the supply path. Then check household pressure, tubing, and refrigerator components if the problem continues.
Do not replace several parts before identifying the restriction. A methodical check can restore normal flow while avoiding unnecessary service costs. If basic troubleshooting fails, contact a qualified appliance professional for a proper diagnosis.
For the best result, treat every filter replacement as a small maintenance procedure rather than a simple cartridge swap. Follow the installation steps carefully, flush the system thoroughly, and monitor dispenser performance. Take action promptly when weak flow continues instead of allowing the restriction to worsen.
Frequently Asked Questions
Why is my water slow after installing an EDR4RXD1?
Trapped air, incorrect seating, or restricted water supply usually causes slow flow after installation.
How do I purge air from my refrigerator water line?
Dispense water for five seconds, release for five seconds, then repeat until steady flow returns.
Can a new EDR4RXD1 filter reduce water pressure?
A new filter can temporarily affect flow, but persistent weakness usually indicates another restriction or installation issue.
How often should I replace an EDR4RXD1 filter?
Everydrop generally recommends replacing refrigerator filters every six months, depending on usage and water quality.
What should I do if a new filter still has weak flow?
Reseat the filter, purge the system, check the supply line, and seek professional diagnosis if weakness continues.