Why Is My Everydrop EDR1RXD1 Water Filter Leaking?

How to Fix a Euhomy Countertop Ice Maker Not Making Ice
August 12, 2026
How to Flush an Everydrop EDR2RXD1 Water Filter Properly
August 12, 2026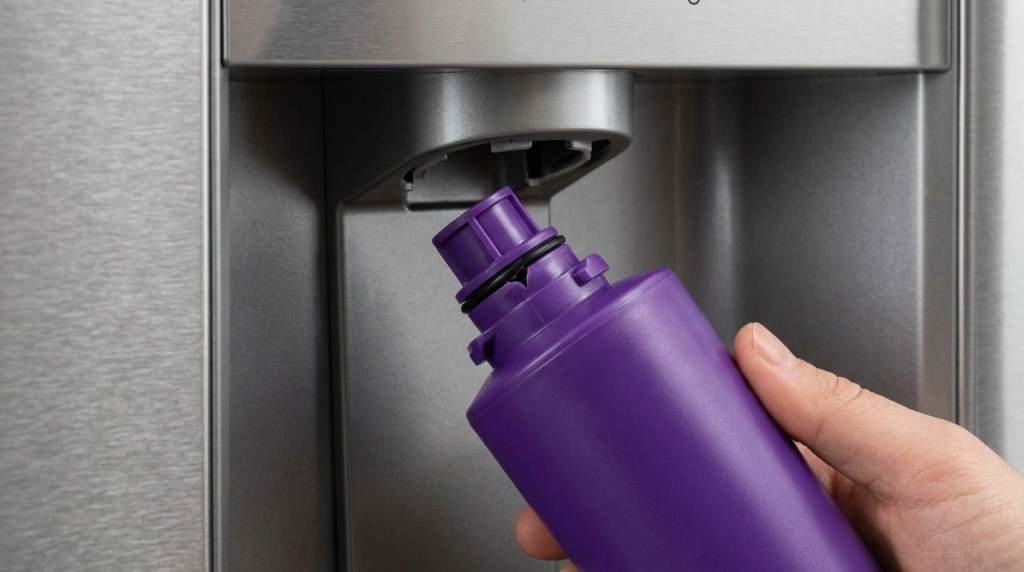
Your Everydrop EDR1RXD1 water filter usually leaks because of poor seating, damaged seals, cracks, or incorrect installation. Start by removing the filter, checking its O rings, inspecting the housing, and reinstalling it correctly.
Whirlpool recommends replacing refrigerator water filters every six months, or sooner when usage requires it. The EDR1RXD1 filter also carries a 200 gallon replacement guideline for compatible applications.
If your Everydrop by Whirlpool EDR1RXD1 water filter suddenly leaks, do not ignore it. A small drip can signal a poor seal, damaged cartridge, or filter housing problem.
Why Is the Everydrop EDR1RXD1 Water Filter Leaking?
The most common cause involves an incomplete seal between the filter and refrigerator housing. Even a small alignment problem can let pressurized water escape around the connection.
However, several other problems can create the same symptom. Checking the filter systematically helps you identify the actual cause without replacing unnecessary parts.
- The filter does not sit fully inside the housing.
- An O ring sits incorrectly or has become damaged.
- The filter cartridge contains a crack or manufacturing defect.
- The filter housing or filter head has damage.
- Debris prevents the sealing surfaces from meeting properly.
- The filter does not match the refrigerator model.
- The water line has excessive pressure or physical damage.
1. Check Whether the Filter Sits Correctly
Improper seating remains one of the first things you should investigate. The filter must align with the housing before you apply pressure or close the filter door.
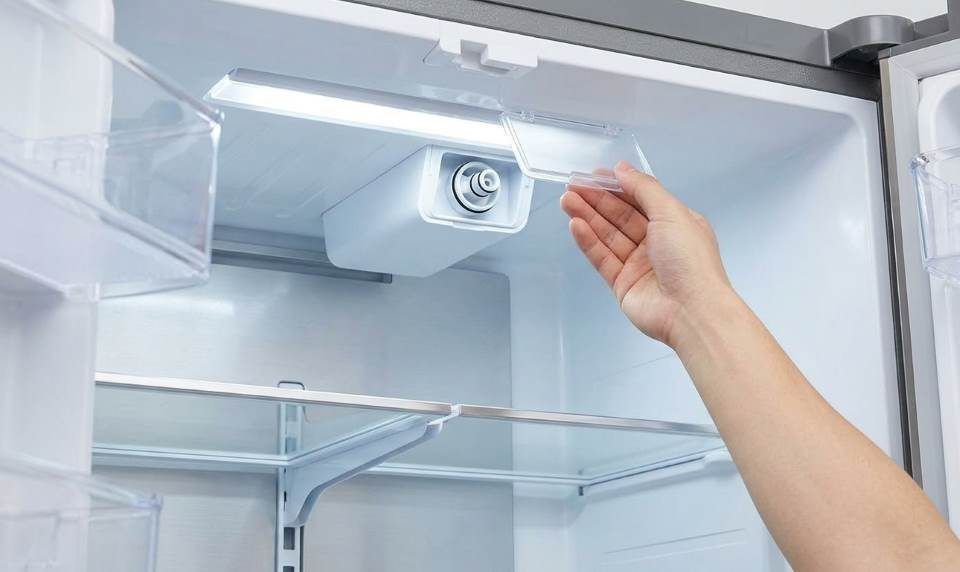
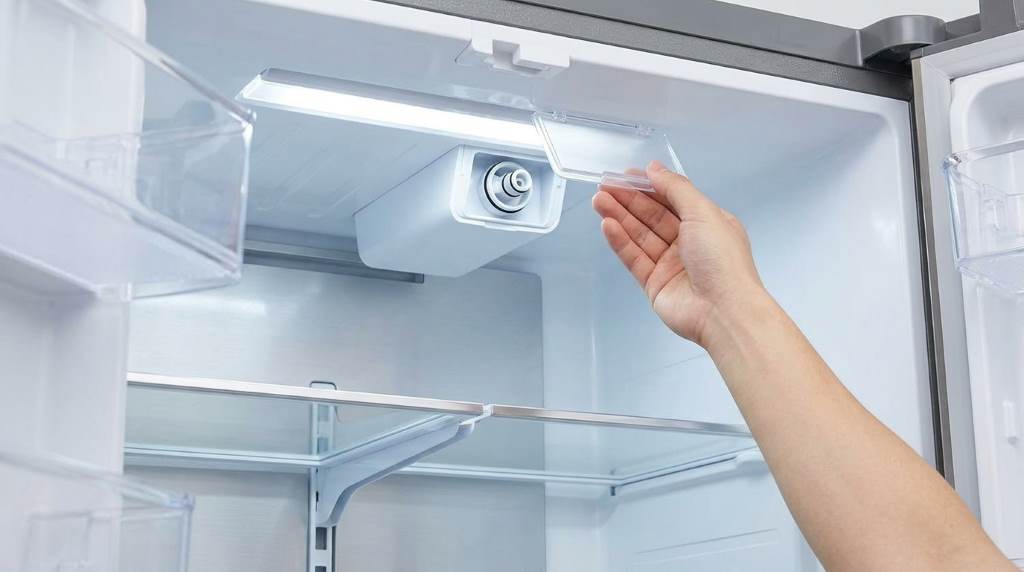
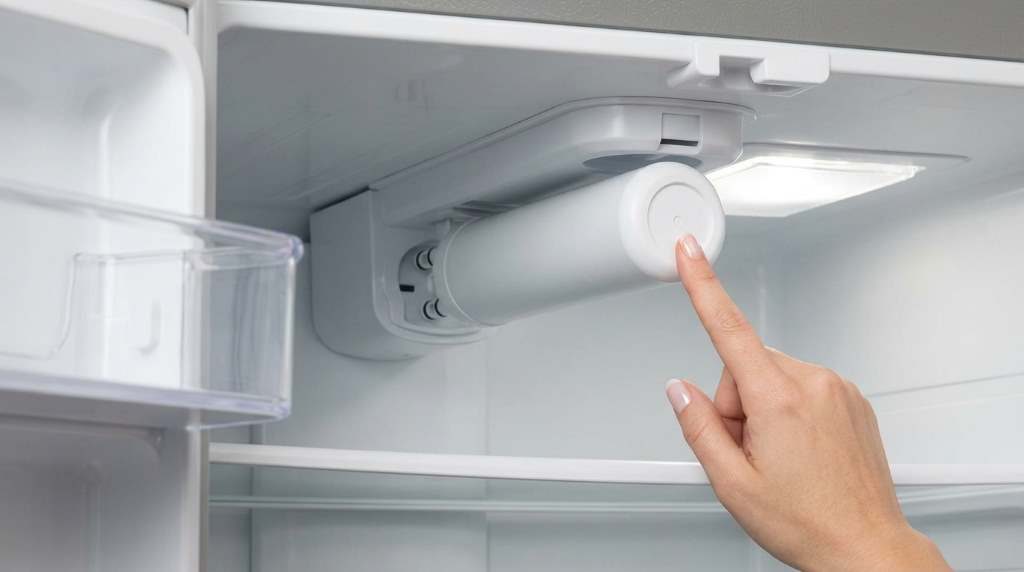
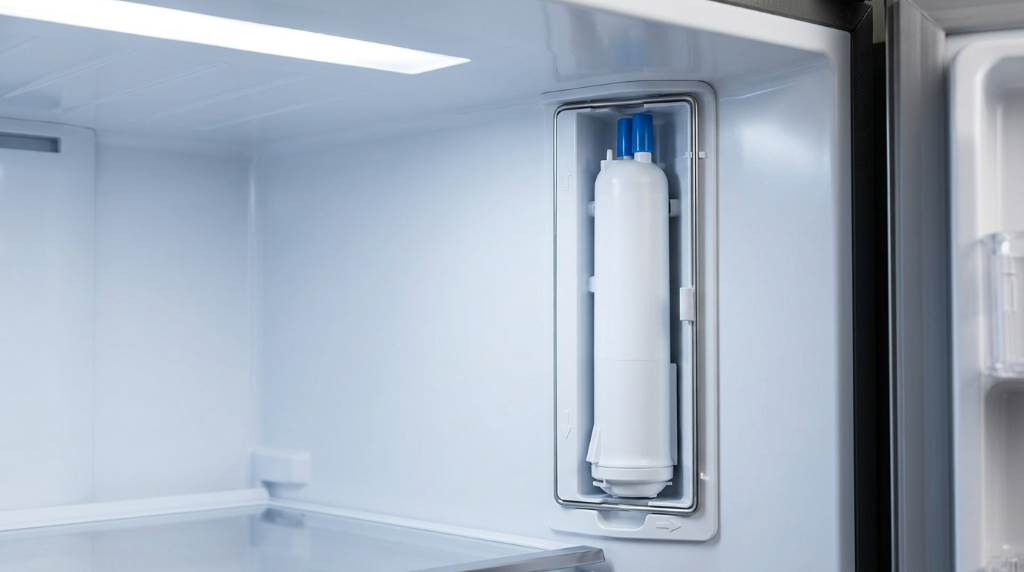
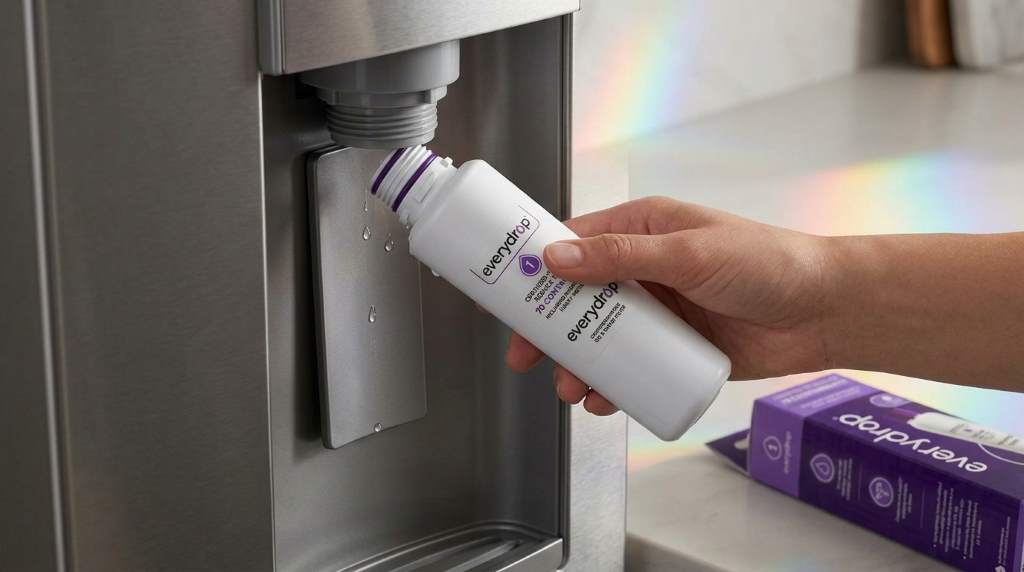
First, stop dispensing water and remove the filter according to your refrigerator instructions. Then inspect the mounting area for visible debris, moisture, or obvious alignment problems.
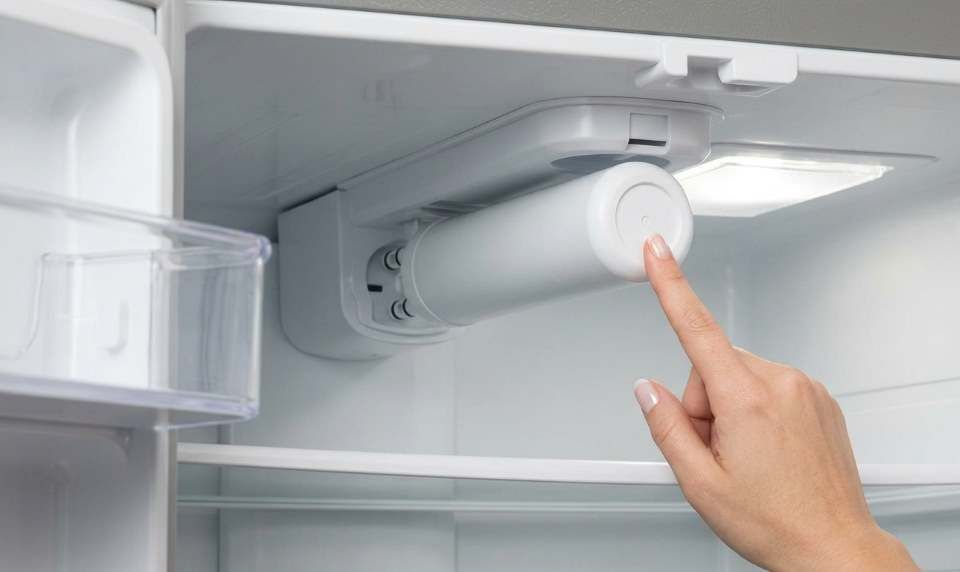
Next, reinstall the filter slowly and follow the refrigerator specific locking method. Never force the cartridge when it resists normal insertion.
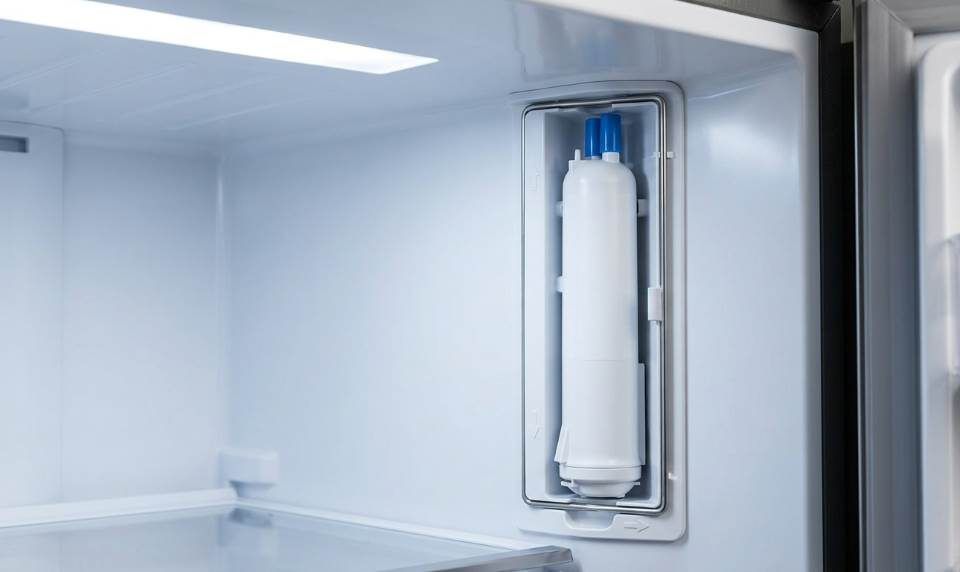
A properly installed filter should sit firmly without excessive force. If the cartridge feels unusually loose, investigate the housing before continuing.
Watch for These Installation Mistakes
- Installing the cartridge at the wrong angle.
- Failing to align the filter with the housing guides.
- Leaving protective material on the sealing area.
- Forcing the filter into an incorrect position.
- Closing the filter door before proper seating.
2. Inspect the O Rings Carefully
The O rings create the watertight seal around the filter connection. Therefore, even minor seal damage can produce persistent dripping.
Remove the filter and examine each visible sealing surface under good lighting. Look for flattening, cuts, distortion, brittleness, or missing sections.
Also check whether debris surrounds the sealing area. Small particles can prevent the O rings from contacting the housing evenly.
Clean the sealing surfaces gently with a soft, damp cloth. Avoid abrasive cleaners that could damage the sealing material.
Why O Ring Problems Cause Leaks
An O ring needs consistent contact around the entire sealing surface. When part of that surface loses contact, water can escape through the smallest opening.
Furthermore, excessive tightening can distort a seal instead of improving it. Always follow the refrigerator instructions rather than applying unnecessary force.
3. Look for Cracks or Physical Damage
A damaged filter cartridge can leak even when you install it correctly. Therefore, inspect the entire EDR1RXD1 cartridge before reinstalling it.
Check the plastic body, connection points, sealing areas, and visible seams. Look for hairline cracks, dents, warped plastic, or unusual discoloration.
If you find damage, replace the filter instead of attempting a temporary repair. Adhesives and sealants cannot reliably restore a pressurized water filter connection.
Also inspect the refrigerator filter housing for cracks. A damaged housing can continue leaking even after you install a new filter.
4. Confirm You Have the Correct Filter
Filter compatibility matters because different refrigerator systems use different connection designs. An incorrect cartridge may appear compatible while failing to create a reliable seal.
Check your refrigerator model number before replacing the filter. Then confirm that EDR1RXD1 matches the required filter specification for your appliance.
Do not rely only on appearance when comparing replacement cartridges. Connection geometry, sealing surfaces, and locking mechanisms can differ between similar looking filters.
Why Generic Filters Can Create Problems
Some third party cartridges may fit loosely or create inconsistent sealing. That problem can cause leaks, restricted water flow, or unusual dispensing behavior.
Therefore, verify compatibility before blaming the refrigerator itself. A correct filter should install according to the refrigerator manufacturer’s intended procedure.
5. Check the Filter Housing and Head
If a new filter still leaks, shift your attention toward the refrigerator housing. The filter may not cause the leak at all.
Inspect the filter head for cracks, mineral deposits, damaged plastic, or unusual movement. Also check the surrounding area for signs of repeated water exposure.
Mineral buildup can interfere with proper sealing around the connection. Carefully clean accessible surfaces without damaging internal components.
If the housing shows cracks or structural damage, stop using the leaking connection. Arrange professional appliance service when the damaged component requires replacement.
6. Check the Water Line and Connections
Sometimes water appears near the filter even though another connection causes the leak. Water can travel across nearby surfaces before reaching the floor.
Inspect accessible water tubing around the filter compartment and refrigerator. Look for kinks, cracks, loose connections, or moisture around fittings.
Then dry the surrounding area completely before testing the filter again. Dry surfaces make fresh leaks much easier to trace.
If water returns away from the filter connection, investigate the nearby tubing or valve system. That finding can prevent an unnecessary filter replacement.
7. Flush a Newly Installed Filter
A newly installed filter can contain trapped air inside the water system. That air can cause temporary dripping from the dispenser.
Whirlpool recommends flushing the system after replacing its water filters. Follow your refrigerator instructions for the correct flushing amount and procedure.
Many Whirlpool replacement instructions specify running four gallons through the system. However, your refrigerator model instructions should always take priority.
Flushing also removes initial carbon particles from the new filter. Consequently, proper flushing supports normal water flow and clearer dispensing.
8. Replace an Old or Clogged Filter
An old filter can restrict water flow and create unusual pressure conditions. Therefore, replacement makes sense when the filter reaches its recommended service interval.
Whirlpool generally recommends changing refrigerator water filters every six months. Some households may need earlier replacement because of water quality or heavier usage.
Reduced dispenser flow can also indicate a clogged filter. Small ice cubes and reduced ice production may provide additional clues.
If your filter has exceeded its expected service period, install a compatible replacement. Then flush the system according to your refrigerator instructions.
9. Use This Quick Leak Diagnosis Table
| Leak Symptom | Likely Cause | Recommended Action |
|---|---|---|
| Leak starts immediately after installation | Poor seating or damaged seal | Remove and reinstall the filter |
| Water leaks around the filter body | Cracked cartridge | Replace the filter |
| Leak continues with a new filter | Housing or head problem | Inspect the filter housing |
| Water flow becomes very slow | Clogged filter | Replace the filter |
| Dripping follows filter replacement | Trapped air or poor installation | Reinstall and flush the system |
| Water appears away from the filter | Nearby tubing or connection leak | Inspect accessible water lines |
How to Fix an EDR1RXD1 Filter Leak Safely
Start by placing a towel beneath the filter area to catch residual water. Then stop using the dispenser while you inspect the connection.
Remove the filter using the refrigerator’s recommended removal procedure. Inspect the cartridge, O rings, housing, and surrounding surfaces.
Clean accessible sealing surfaces and remove visible debris. Next, reinstall the filter without forcing or overtightening the connection.
After installation, dispense water slowly and watch the filter area carefully. Check for fresh moisture around the connection rather than relying on floor puddles.
If the area remains dry, continue dispensing water for several seconds. Then inspect the connection again after the system reaches normal pressure.
What If the EDR1RXD1 Still Leaks After Reinstallation?
A persistent leak usually points toward a damaged filter, seal, housing, or water connection. At that stage, repeated reinstallations rarely solve the underlying problem.
Install a known compatible replacement filter if the existing cartridge appears questionable. If the replacement also leaks, focus on the refrigerator housing and water line.
Do not continue operating a refrigerator that releases a steady amount of water. Persistent leakage can damage flooring, cabinetry, electrical components, or nearby materials.
When the source remains unclear, appliance service provides a safer next step. A technician can test the water path and identify damaged internal components.
How to Prevent Future EDR1RXD1 Leaks
Prevention starts with correct installation and timely filter replacement. A few simple habits can reduce recurring sealing problems.
- Verify filter compatibility before installation.
- Remove all protective coverings from the new filter.
- Inspect O rings before inserting the cartridge.
- Clean accessible sealing surfaces during replacement.
- Never force a filter into the housing.
- Flush the system after installing a new filter.
- Replace the filter according to the recommended schedule.
- Check the connection whenever you notice reduced water flow.
When Should You Stop Troubleshooting?
You should stop troubleshooting when the filter housing shows cracks or the leak continues with compatible filters. Water near electrical components also requires immediate caution.
Likewise, avoid disassembling internal refrigerator components without appropriate appliance repair knowledge. Incorrect repairs can create additional leaks or electrical hazards.
Instead, document where the water appears and when the leak starts. That information can help an appliance technician diagnose the problem faster.
Frequently Asked Questions
Why does my EDR1RXD1 leak immediately after installation?
The filter probably lacks proper seating, has a damaged seal, or contains a connection problem.
Can a bad O ring cause an EDR1RXD1 leak?
Yes, a damaged, missing, flattened, or displaced O ring can prevent a watertight seal.
Should I replace a leaking EDR1RXD1 filter?
Replace the filter if you find cracks, damage, missing seals, or persistent leakage after correct installation.
Why does my new refrigerator filter drip?
A new filter can drip because of poor seating, trapped air, damaged seals, or installation debris.
How often should I replace an EDR1RXD1 filter?
Whirlpool recommends replacement every six months, although water quality and usage can require earlier replacement.
Final Takeaway
Most EDR1RXD1 leaks come from installation, sealing, damage, compatibility, or housing problems. Start with the filter connection, then inspect the O rings and housing systematically.
Replace damaged cartridges rather than attempting temporary repairs. If a compatible replacement still leaks, have the refrigerator’s filter housing and water lines professionally inspected.
Take action as soon as you notice recurring moisture around the filter. A quick inspection can prevent a small filter leak from becoming expensive water damage.