
Why Is My Kitchen Floor Still Sticky After Mopping?
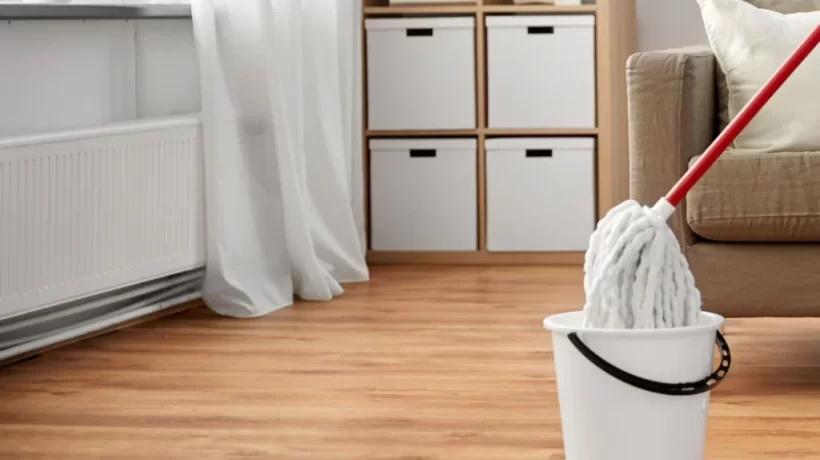
A freshly cleaned kitchen floor should feel smooth and look spotless. So why does it sometimes feel sticky after all your hard work? Sticky residue is a surprisingly common frustration, and thankfully, it’s usually easy to fix.
How to Change the Water Drain on a Portable Dishwasher: A Comprehensive Guide
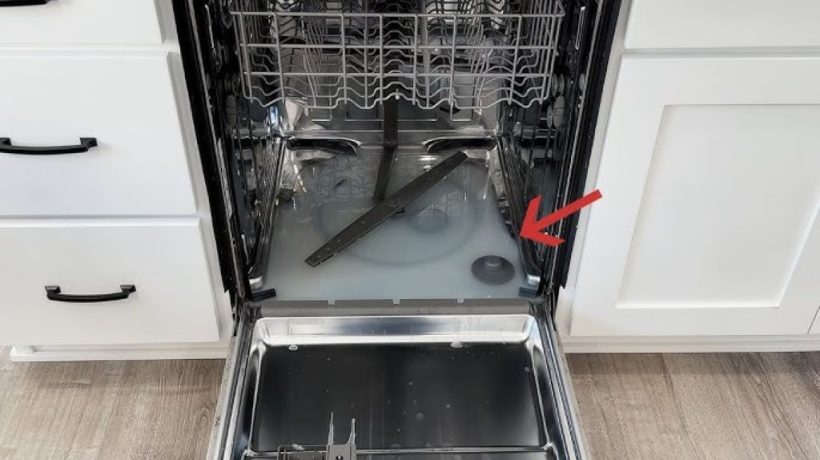
Portable dishwashers are fantastic for small kitchens or apartments where space is tight. These versatile appliances can save you loads of time washing dishes. However, like any appliance, parts can wear out over time. A common issue with portable dishwashers is trouble with the water drain. If you’re noticing water pooling in your dishwasher, a faulty drain system could be the culprit.
Why Is My Ice Maker Leaking? Troubleshooting a Common Kitchen Problem
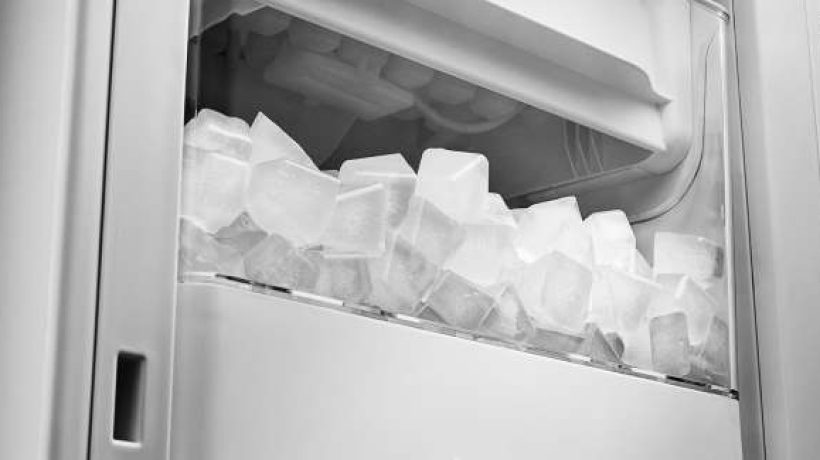
A leaky ice maker is a frustrating appliance issue that can lead to puddles, water damage, and a less-than-hygienic freezer environment. Before you call a repair technician, understanding the potential causes and a few basic troubleshooting steps can sometimes help save the day. Here’s what you need to know.
Why Is My Freezer Making That Noise? Troubleshoot and Solve Common Issues

It’s a familiar experience: the gentle hum of the refrigerator is a background sound of our homes. But when that hum turns into a rattle, clunk, or high-pitched whine from your freezer, it can be quite disruptive. While some freezer noises are normal, others can hint at potential problems.
How to Change the Belt on a Kenmore Elite Dryer: A DIY Guide
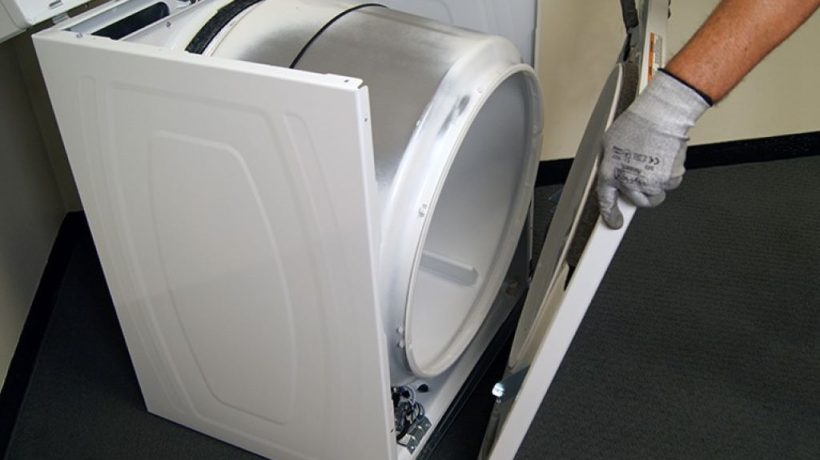
A broken dryer belt is one of the most common reasons your Kenmore Elite dryer might stop tumbling even when the motor runs. Replacing the belt is a straightforward repair that most homeowners can do themselves, saving the cost of a service call. Before getting started, it’s important to understand the function of the belt, know the telltale signs of a broken one, and have the right tools and parts on hand.
Why Is My Deep Fryer Bubbling? Troubleshooting and Solutions
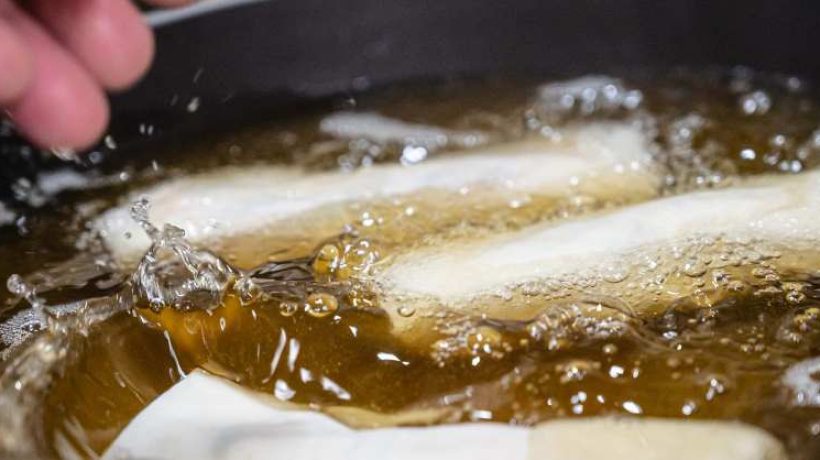
Deep fryers are fantastic kitchen appliances for making crispy, delicious treats. But, if you’ve ever noticed your deep fryer bubbling excessively or producing a thick foam on the surface, it might give you pause. While a small amount of bubbling is normal during frying, excessive bubbling or foaming can indicate a few potential problems. Let’s explore some common culprits and solutions.
Why Won’t My Dishwasher Drain? Troubleshooting Standing Water

A dishwasher is a wonderful convenience, promising sparkling dishes with minimal effort. However, nothing is more frustrating than opening your dishwasher after a cycle to find a pool of standing water lingering at the bottom. Why does this happen, and what can you do about it?
Why Does My New Toaster Smell Like Burning Plastic? A Troubleshooting Guide
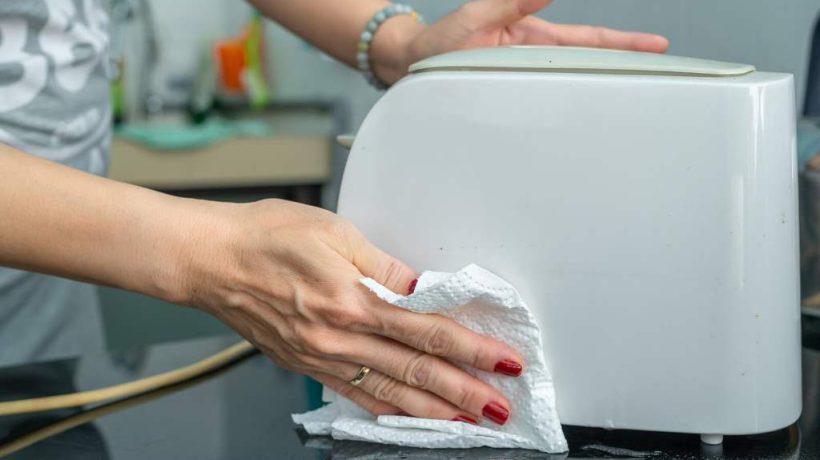
Picture this: you’ve just treated yourself to a shiny new toaster, excited for perfectly browned slices of bread. But the first time you use it, a troubling odor of burning plastic fills the air. Don’t panic! This is remarkably common, and often harmless. However, it’s essential to understand the causes and take the right steps to make sure your toaster is safe to use.
Troubleshooting Your Charcoal Grill: Why It’s Not Getting Hot Enough

Backyard barbecues are a beloved tradition, fueled by the smoky flavor of food cooked over charcoal. But what if your trusty grill just can’t muster the heat to properly sear those burgers or grill those veggies? A charcoal grill that won’t get hot enough ruins the experience, leaving you with undercooked food and hungry guests.
Juicers vs. Blenders: Unlocking the Benefits of Pure, Fresh Juice

If you’re passionate about a healthy lifestyle, chances are you’ve considered the kitchen powerhouses known as juicers and blenders. Both appliances offer a fantastic way to boost your fruit and vegetable intake. However, deciding which one is right for you can be a bit confusing. In this article, we’ll break down the key differences and explain why a juicer might be a better choice for various needs.