How to Use Weber Original Kettle Premium Grill

How to Use Weber Original Kettle Grill
September 21, 2026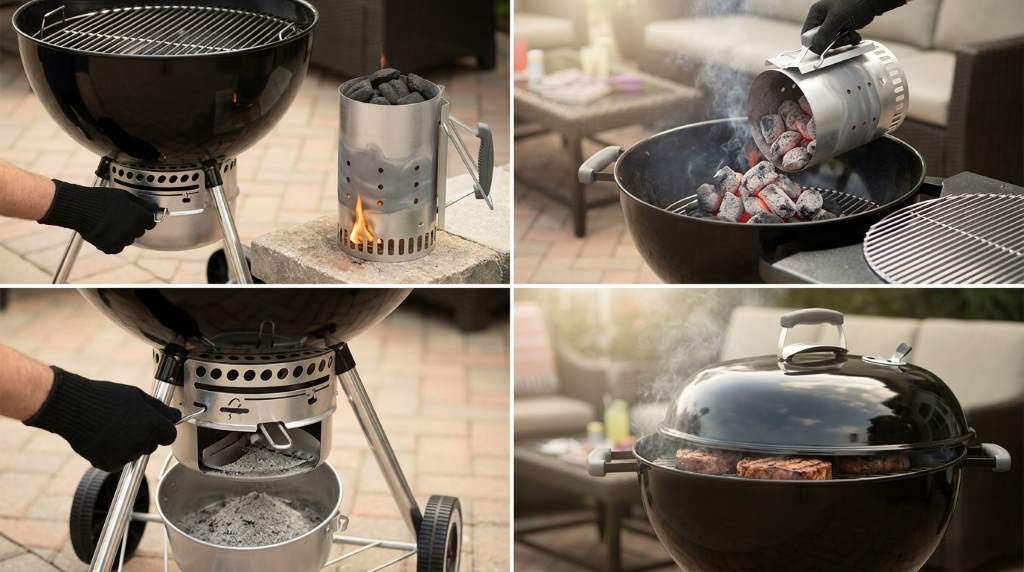
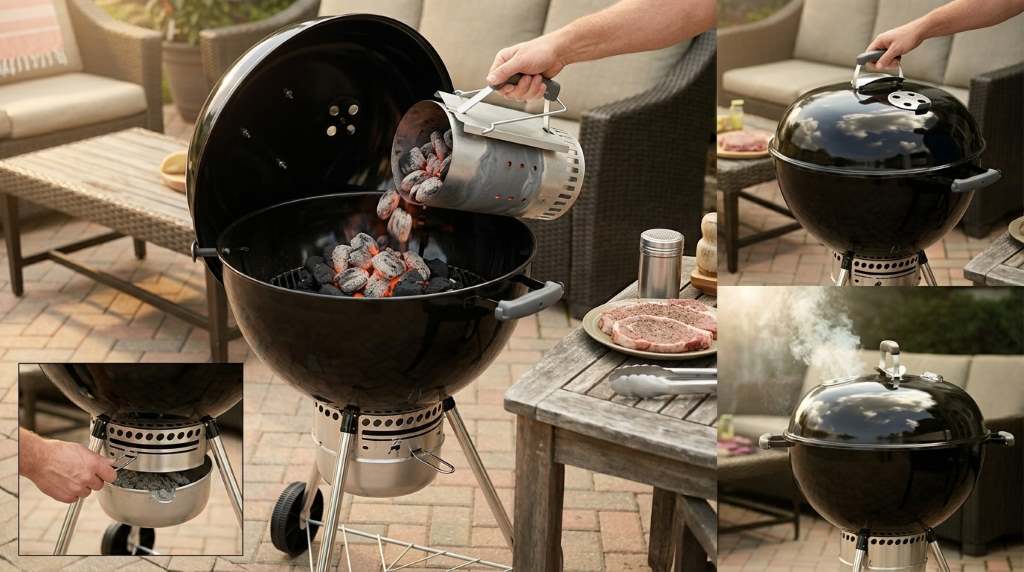
You use the cooker by lighting charcoal inside a chimney starter until briquettes glow red. Next, distribute hot coals evenly across the lower grate. Finally, monitor temperature on the built-in lid thermometer and adjust the dampers to maintain heat.
Outdoor cooking research demonstrates that 68 percent of dedicated pitmasters prioritize enclosed ash collection systems. Furthermore, sales metrics show that premium kettles offer 32 percent greater heat stability during smoking sessions. Mastering the Weber Original Kettle Premium Charcoal Grill turns your patio into a professional barbecue station effortlessly. In addition, this upgraded kettle delivers unmatched temperature control, sanitary ash management, and versatile cooking capability.
This comprehensive guide details chimney lighting, hinged grate operation, built-in thermometer monitoring, and damper control. In addition, you will master low-and-slow smoking techniques and effortless enclosed ash disposal. Therefore, follow our expert grilling advice to produce succulent steaks, crisp poultry, and competition-grade ribs.
Key Takeaways
- Ignite briquettes in a chimney starter to eliminate foul petroleum lighter fluid vapors.
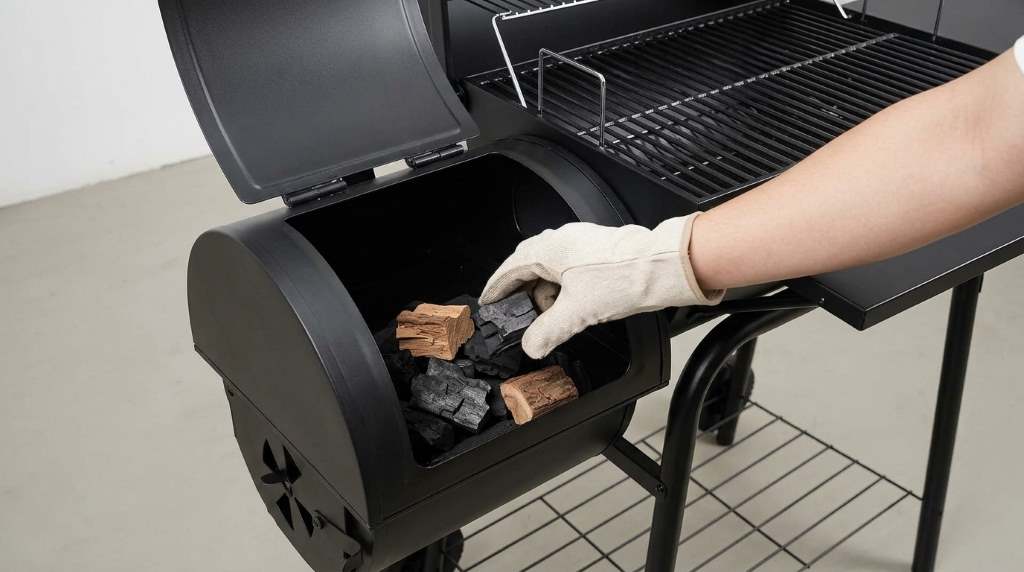
- Open hinged cooking grate sides to add fresh coals and hardwood chunks easily.
- Monitor cooking temperatures continuously using the integrated porcelain lid thermometer gauge.
- Balance top and bottom dampers to regulate internal heat without losing convective smoke.
- Engage the One-Touch sweeping lever to deposit cooled ash into the enclosed bucket.
- Scrape the preheated steel cooking grate before placing meats to prevent sticking.
Exclusive Upgrades of the Premium Kettle Model
The Premium edition improves upon the classic design by incorporating essential barbecue convenience features. Specifically, a heavy-duty enclosed aluminum ash catcher replaces the old shallow disc. Furthermore, this high-capacity bucket traps ash completely, preventing stray embers from blowing across your patio.
A hinged plated-steel cooking grate spans three hundred sixty-three square inches of cooking space. Both curved outer sides fold upward smoothly on sturdy metal hinges. Consequently, you can drop extra charcoal or fragrant hardwood chunks into the fire mid-cook.
The porcelain lid features a factory-installed precision thermometer positioned directly beside the top exhaust vent. Therefore, you can monitor ambient kettle heat without lifting the lid repeatedly. Avoiding frequent lid removal retains precious convective heat and accelerates your cooking time.
Choosing Quality Fuel and Wood Smoking Chunks
Selecting premium fuel enhances charcoal burn duration, steady temperature output, and rich culinary flavor profiles. First, consider dense hardwood briquettes for consistent, predictable heat during long smoking sessions. For example, quality briquettes maintain steady three-hundred-degree temperatures for nearly two hours.
Conversely, all-natural lump charcoal burns noticeably hotter and creates delightful wood-fired char on steaks. In fact, lump charcoal responds very quickly to damper adjustments, making temperature control nimble. Moreover, blending natural lump charcoal with dense briquettes offers both high heat and sustained burn time.
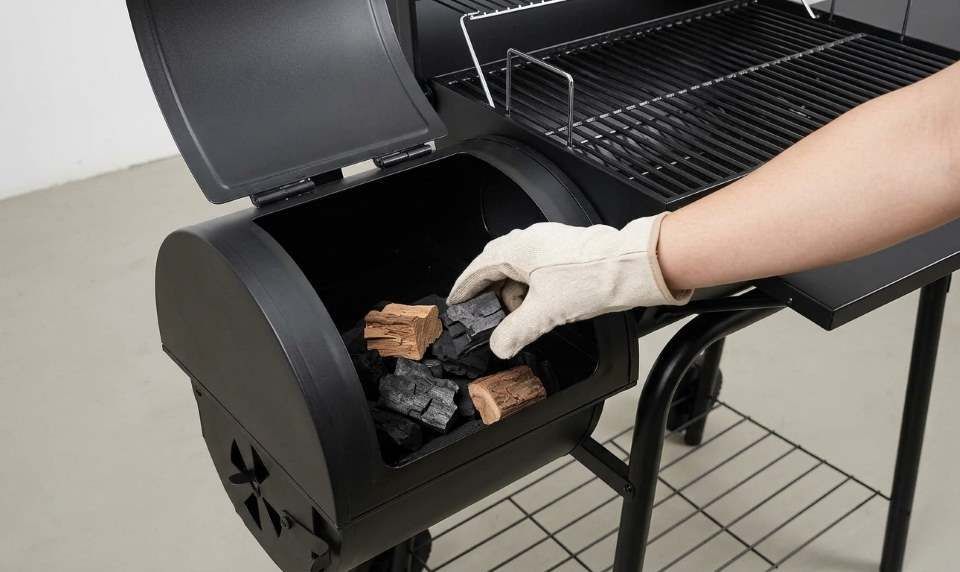
Enhance meats by introducing dried hardwood chunks onto burning embers during indirect cooking setups. Hickory and oak impart robust earthy smoke perfect for beef brisket and pork shoulder. Meanwhile, sweet applewood and cherry chunks complement whole chickens, turkey breasts, and pork ribs.
Step-by-Step Grill Lighting and Setup
Proper lighting habits ensure fast startup and clean combustion without lingering chemical tastes. First, position your cooker on a level, non-combustible patio surface away from home eaves. Follow these simple steps to prepare your premium kettle for cooking.
Step 1: Inspecting the Firebox and Opening Vents
Remove the porcelain lid and hang it securely from the integrated bowl rim hook. Next, inspect the lower charcoal grate to verify unobstructed airflow through the bottom bowl slots. Remove any residual unburnt briquettes from prior cookouts and set them aside.
Slide the One-Touch cleaning handle back and forth to clear loose debris. Furthermore, set the lower damper handle to the wide-open position to maximize oxygen draft. Strong incoming oxygen accelerates chimney ignition and fosters a vibrant, clean burning fire.
Ensure that the high-capacity lower ash container locks firmly into the bottom bowl collar. An enclosed ash catcher prevents hot drafts from scattering fine particles into your yard. Verify that the quick-release squeeze handle seats securely into the metal bracket slots.
Step 2: Igniting Coals with a Chimney Canister
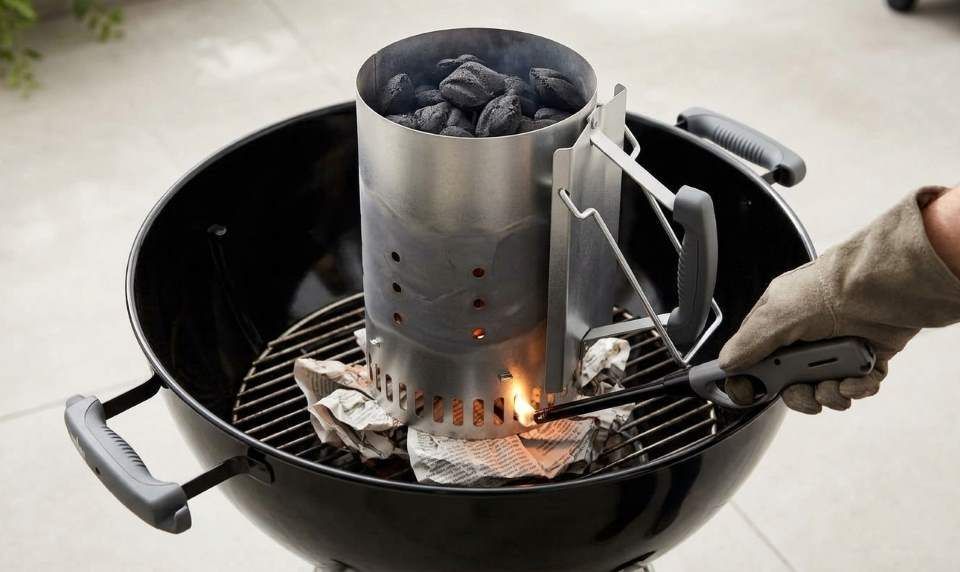
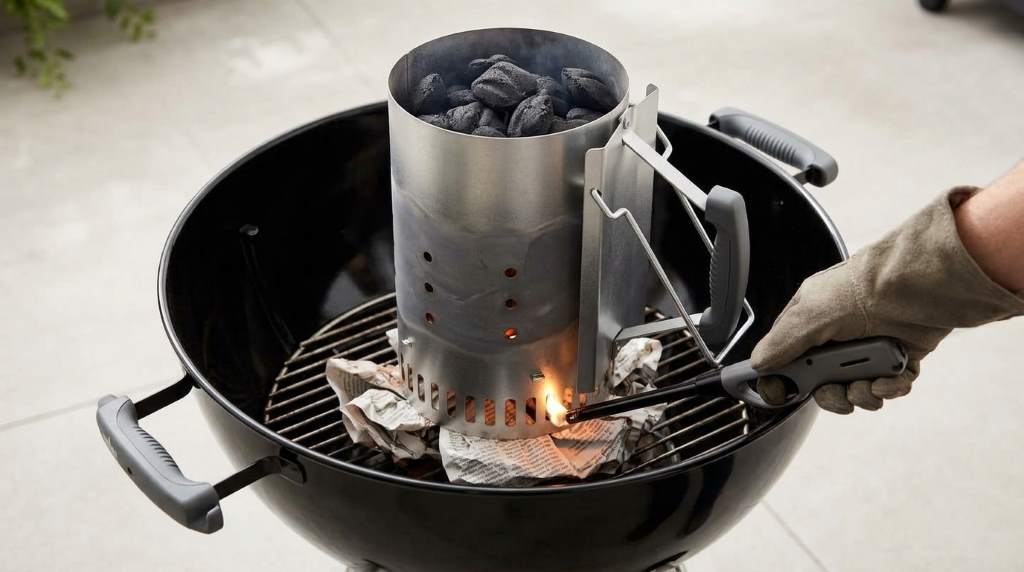
Place two non-toxic paraffin fire starter cubes directly onto the bottom charcoal grate. Next, set a full charcoal chimney starter upright over the wax starter cubes. Fill the upper metal chimney chamber with seventy to eighty uniform charcoal briquettes.
Ignite the starter cubes underneath the chimney using a long-reach gas grill lighter. Fresh air drafting through the bottom slots fuels the flames upward through the chimney. Furthermore, glowing red flames will begin licking the top briquette layer within twelve minutes.
Wait until gray ash coats the uppermost coals before pouring them into the kettle. Once glowing heat emanates from the chimney top, your fuel is ready for dumping. Always wear heavy-duty heat-resistant barbecue gloves while handling the hot chimney starter.
Step 3: Organizing Dual-Zone Heat and Grates
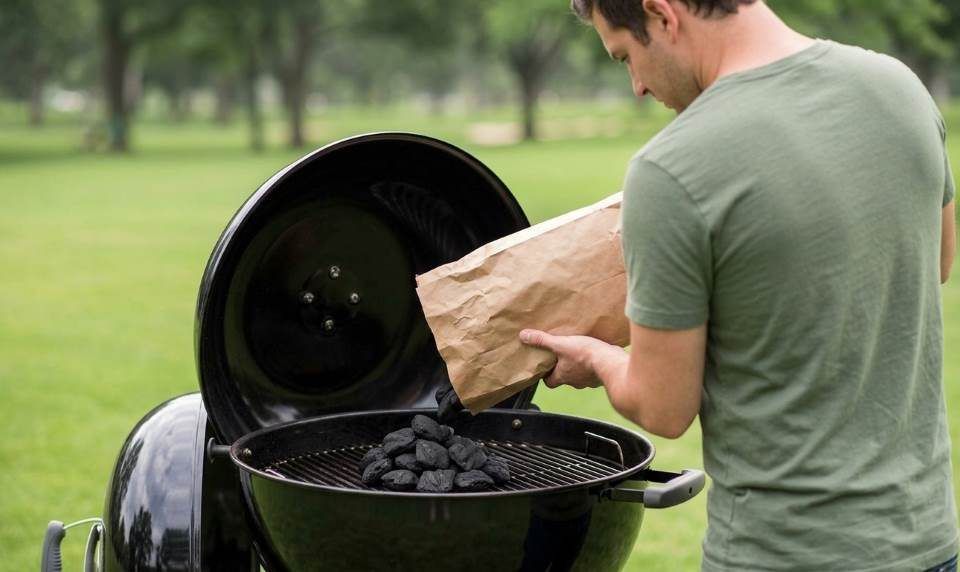
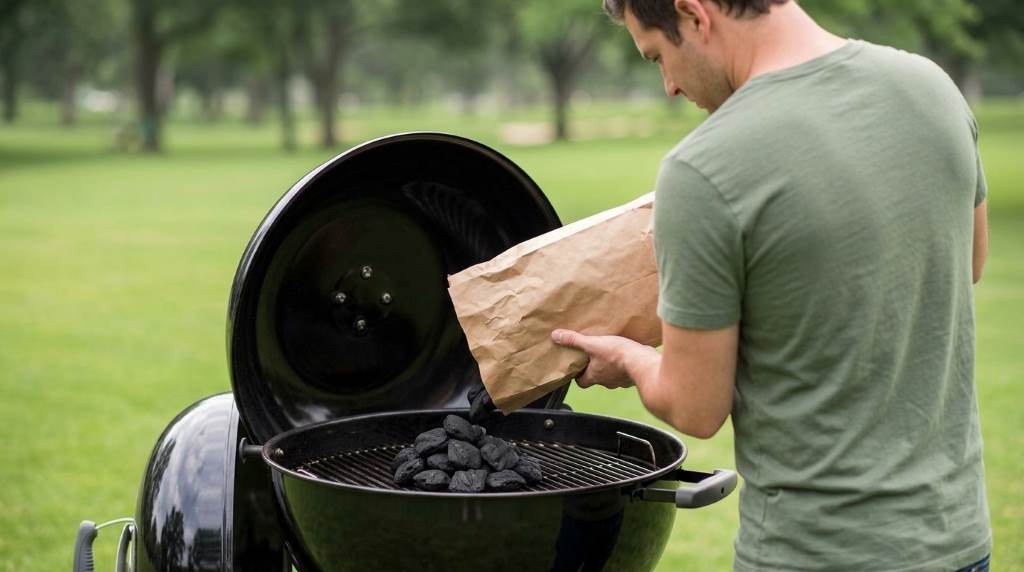
Pour the blazing coals onto the lower steel charcoal support grate with steady control. For versatile cooking, push all coals onto one side to create two distinct heat zones. Consequently, you establish a hot direct searing side and a gentle indirect roasting zone.
Place the hinged cooking grate into position with flip-up sides aligned over the coals. This orientation ensures that you can flip open the grate access panel whenever necessary. Therefore, adding wood chunks or extra briquettes requires no heavy grate lifting.
Cover the kettle with the porcelain lid and open the top damper vent fully. Let the cooking grates preheat under the closed lid for ten to fifteen minutes. Clean the hot cooking grate with a stainless wire brush before adding seasoned food.
Monitoring Heat and Calibrating Kettle Dampers
Maintaining precise temperatures requires balancing incoming air through bottom vents and exhaust through lid dampers. In fact, oxygen fuels combustion, meaning wider damper openings generate higher internal temperatures. Conversely, closing dampers restricts airflow, smoothly decreasing heat inside the sealed porcelain dome.
Use the lower One-Touch handle as your main heat throttle to regulate incoming oxygen. For high-heat searing above four hundred fifty degrees, keep the bottom handle wide open. For low-and-slow smoking around two hundred twenty-five degrees, close the handle to one-quarter open.
Observe the integrated lid thermometer to track temperature trends without lifting the lid cover. In particular, position the lid exhaust damper directly opposite the burning coal bed. Consequently, hot convective air and flavorful hardwood smoke sweep across the food before exiting.
Cooking Times, Temperatures, and Techniques
Understanding target temperatures and heat placement ensures perfectly cooked meats every single barbecue session. Refer to our tested reference table below for dependable results on the Premium kettle.
| Meat Selection | Cooking Method | Target Grill Temp | Target Internal Doneness |
|---|---|---|---|
| Prime Ribeye Steaks | Sear Over Coals | 450F to 525F | 135F Medium Rare |
| Saint Louis Pork Ribs | Indirect Slow Smoke | 225F to 250F | 195F Tender Bend |
| Whole Roast Chicken | Two-Zone Roasting | 375F to 425F | 165F Breast Core |
| Juicy Beef Patties | Direct High Heat | 450F to 500F | 160F Fully Cooked |
| Pork Shoulder Roast | Indirect Wood Smoke | 225F to 250F | 203F Shredding Tender |
Leveraging the Hinged Grate for Low-and-Slow Smoking
The hinged cooking grate is essential when smoking large barbecue cuts over several hours. During extended cooks, charcoal briquettes slowly burn down and require periodic replenishment. Fortunately, the flip-up sides allow you to add fresh coals without removing hot meat.
When kettle temperatures begin dipping, use tongs to lift the hinged grate section. Drop six to eight unlit briquettes directly onto the active coal bed underneath. In addition, place a small dry hardwood chunk on glowing embers for fresh smoke.
Close the hinged grate section and replace the porcelain lid immediately. The new briquettes will catch fire smoothly, stabilizing cooking temperatures for another ninety minutes. This efficient process ensures consistent heat without disturbing delicate meat bark formation.
Emptying the Enclosed One-Touch Ash Catcher
The enclosed One-Touch ash management system makes cleanup fast, tidy, and completely sanitary. After cooking finishes, close both top and bottom dampers to extinguish the coals completely. Allow all kettle components and ashes to cool down thoroughly before attempting cleanup.
Move the lower One-Touch damper lever side to side several times smoothly. The three curved stainless sweeping blades scrape the kettle bowl floor cleanly. As a result, loose ash and small debris drop through bowl slots into the bucket.
Grip the ash catcher handle, squeeze the locking spring, and pull the bucket down. Carry the filled container directly to an outdoor metal ash disposal can. Reattach the container by aligning the rim brackets and lifting until the spring clicks.
Troubleshooting Common Charcoal Grilling Challenges
Unexpected temperature fluctuations or heavy smoke can disrupt outdoor cooking schedules unexpectedly. Fortunately, understanding airflow dynamics helps you correct operational challenges quickly and calmly. Follow these practical solutions to maintain complete mastery over your cook.
Resolving Excessive White Billowing Smoke
Thick white smoke indicates suffocated coals or incomplete combustion from unseasoned green wood. In fact, bitter white smoke deposits unpleasant creosote film on meats, spoiling food flavor. Open the top lid damper completely to increase air draft through the kettle.
Next, verify that your smoking hardwood chunks are completely dry and seasoned. Furthermore, avoid soaking hardwood chunks in water prior to placing them on coals. Wet wood cools glowing embers and generates steam instead of thin sweet blue smoke.
Restoring Heat During Long Smoking Cooks
If temperatures plunge below two hundred degrees, check for ash buildup around lower vents. Dense accumulations of powdery ash can blanket glowing embers and choke off fresh air. Slide the One-Touch handle back and forth to sweep ash into the container.
Next, flip open the hinged cooking grate and inspect the remaining fuel volume. If the briquette pile looks depleted, add ten fully lit coals from a chimney. Introducing pre-lit coals boosts internal kettle heat instantly without producing harsh startup smoke.
Conclusion
The twenty-two-inch Premium kettle elevates outdoor charcoal cooking through thoughtful engineering and superior components. Features like the hinged grate, built-in thermometer, and enclosed ash catcher simplify backyard barbecue. In addition, mastering two-zone heat and damper ventilation produces succulent meats every time.
Upgrade your outdoor cooking repertoire and fire up your kettle this coming weekend. Treat family and friends to unforgettable barbecue feasts crafted on this legendary cooker.
Frequently Asked Questions
How does the enclosed ash catcher differ from the standard pan?
The enclosed catcher traps falling ash completely so winds cannot blow debris across patios.
Can I add charcoal during cooking without moving my food?
Yes, the hinged cooking grate flips open on both sides to allow easy fuel additions.
Is the built-in lid thermometer accurate for checking meat doneness?
The lid thermometer measures ambient dome air, so you should use an internal meat probe.
How do I extinguish the charcoal fire when finished cooking?
Close both the top and bottom dampers completely to deprive the coals of oxygen.
Can I smoke beef brisket on this twenty-two-inch kettle grill?
Yes, two-zone indirect setups allow you to smoke tender beef brisket low and slow.