
Washing Machine Cleaning Wipes: A Fresh Approach to Appliance Hygiene
Our trusty washing machines work hard to keep our clothes clean and fresh, but they, too, need a bit of TLC to maintain their performance and longevity. Washing machine cleaning wipes have emerged as a convenient and effective way to address this need. In this article, we delve into the world of these handy wipes, exploring their benefits, how they work, and why they deserve a spot in your laundry routine.
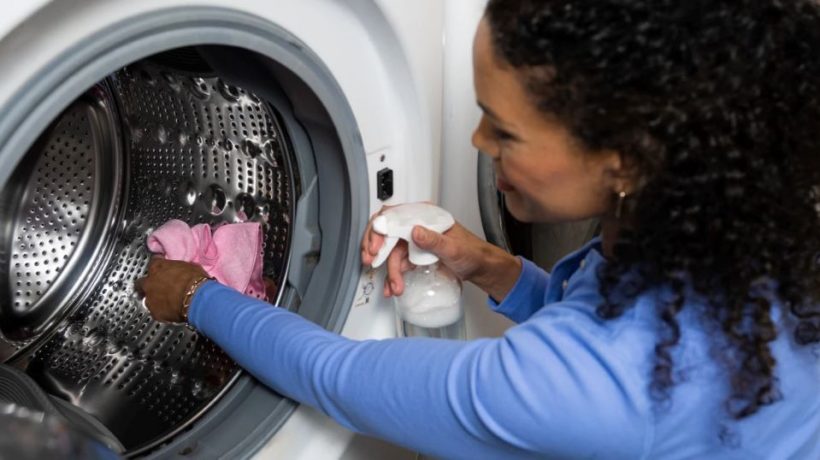
The Unpleasant Paradox: Why Your Washing Machine Smells After Cleaning

It’s a perplexing scenario: you’ve just meticulously cleaned your washing machine, yet an unpleasant odor lingers or has even worsened. This frustrating experience leaves many homeowners scratching their heads. The truth is, that the very act of cleaning can sometimes exacerbate or uncover underlying issues that contribute to these smells. This detailed article explores the many reasons why your washing machine smells still even after cleaning it. It also provides solutions and preventative tips to keep your washer fresh and odor-free.
Cleaning KitchenAid Mixer: Keep Cookmate in Pristine Condition
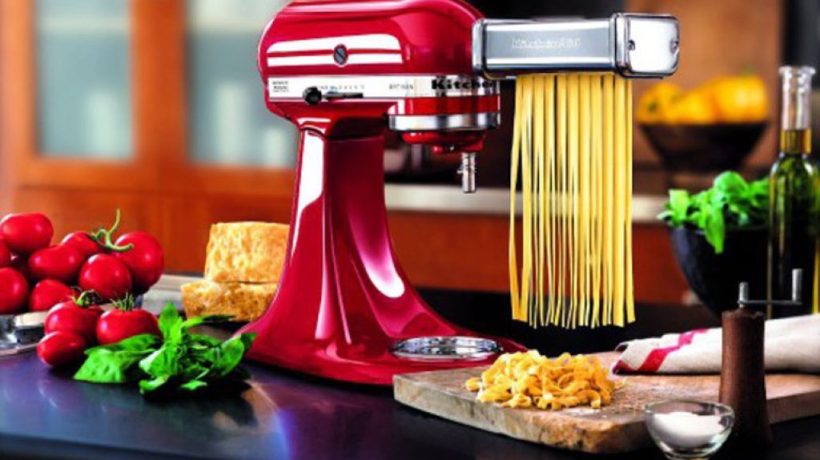
The KitchenAid stand mixer is a workhorse in countless kitchens, tackling everything from bread dough to delicate meringue. But like any hardworking appliance, it needs regular care to ensure optimal performance and longevity. Here’s how to clean your KitchenAid mixer properly, whether you’re a casual baker or a culinary pro.
Philips Smart Pasta Maker Plus Review: For Homemade Pasta
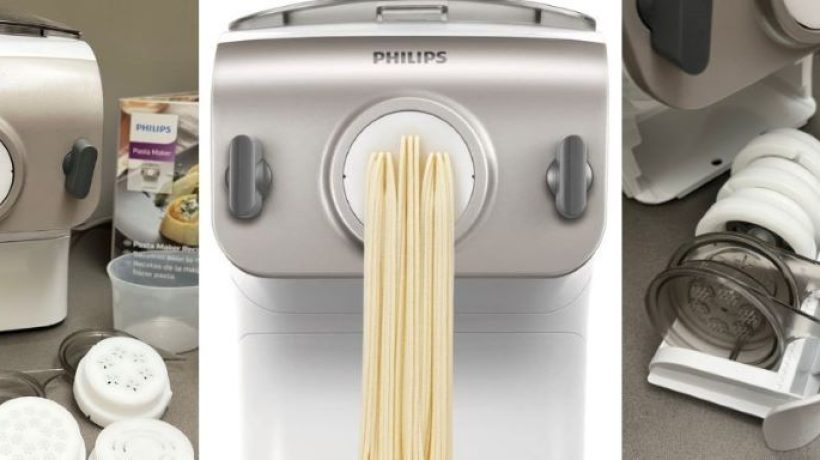
The Philips Smart Pasta Maker Plus is a kitchen appliance that aims to revolutionize the way we create fresh pasta at home. Combining automation, smart features, and a sleek design, it promises restaurant-quality pasta with minimal effort. But does it deliver on its promises? Let’s dive in and explore the ins and outs of this innovative machine.
How to Clean a Manual Pasta Maker: A Comprehensive Guide

Pasta makers, whether manual or electric, are invaluable tools for creating fresh, homemade pasta. However, the intricate design of these machines, particularly manual ones, can make cleaning a daunting task. This comprehensive guide will break down the process into simple, manageable steps, ensuring your pasta maker remains in pristine condition.
Crock Pot Conundrums: A Comprehensive Troubleshooting Guide

The crock pot (or slow cooker) is a kitchen workhorse, promising delicious meals with minimal effort. But even the most reliable appliances can encounter hiccups. If your pot is acting up, don’t despair. This guide will walk you through common issues and their solutions, helping you get back to stress-free cooking.
The Smeg Toaster: More Than Just Toast, It’s an Icon
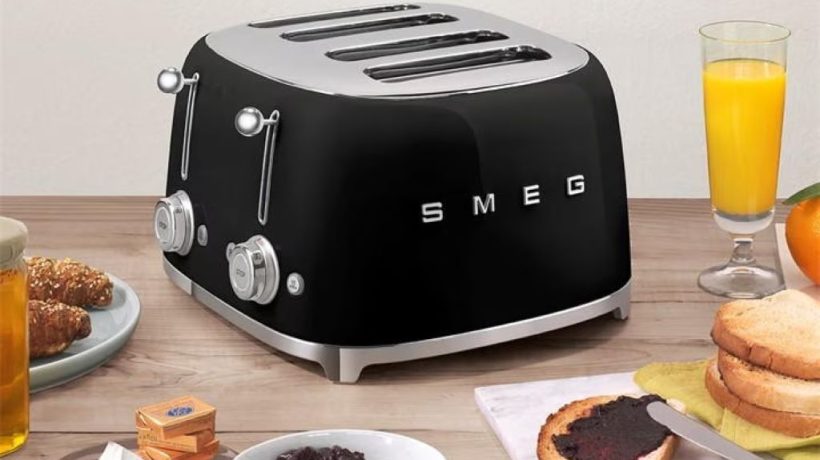
Smeg toaster has become synonymous with style and functionality in the kitchen. But what makes them so special? This article delves into the features, design, and cultural significance that set Smeg toasters apart.
Mastering Your Smeg Toaster: A Complete Guide

Smeg toaster is renowned for its stylish retro design and exceptional performance. Whether you’ve just unboxed your new Smeg or are looking to optimize your toasting experience, this guide will walk you through all the essential features and techniques.
How to Use a Smeg Toaster: Guide for Perfect Toast
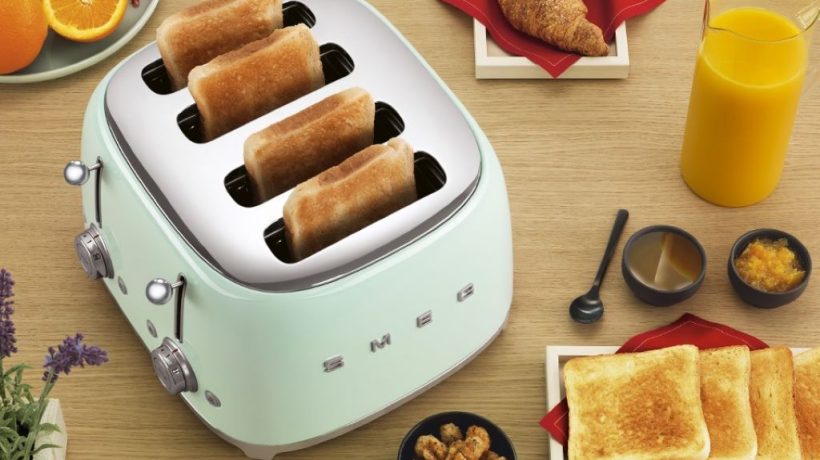
Smeg designs toasters renowned for their stylish retro design and high-quality performance. Whether you’re a toast aficionado or a casual breakfast eater, mastering your Smeg toaster will elevate your morning routine. This guide will walk you through using your Smeg toaster to its full potential, from basic operation to advanced features.
How to Make a Slushie with a Blender: Refreshing DIY Treats
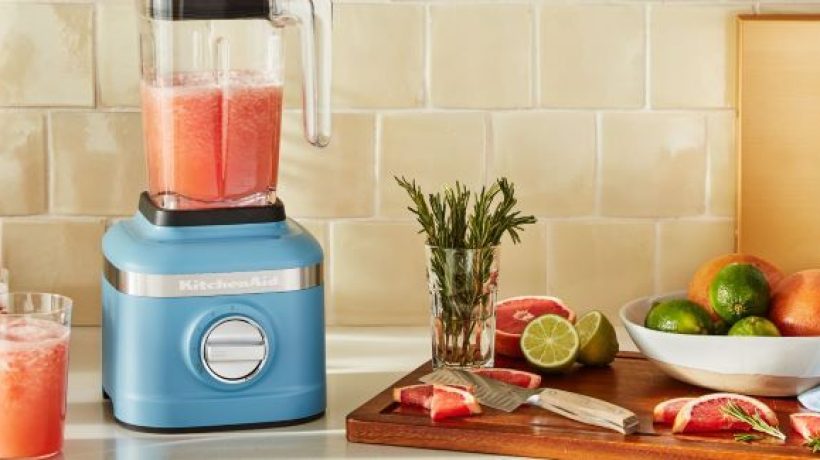
Slushies are the epitome of summer refreshment, and with a blender, you can easily whip up your own flavorful concoctions at home. Whether you crave classic fruit flavors, creative combinations, or even adult-only versions, a blender is your ticket to personalized slushie bliss. Let’s dive into the details of how to make a slushie that rivals your favorite store-bought varieties.